Your Cart is Empty


How We Make Fabric

Please note that this content was originally intended for email distribution. We have adapted the presentation slightly to allow more people to have access.

Hey Everyone! It's Kyle here. This blog is about my experience traveling to the mills where we make our fabric. I took these pictures and videos last time I was there and wanted to share them with you
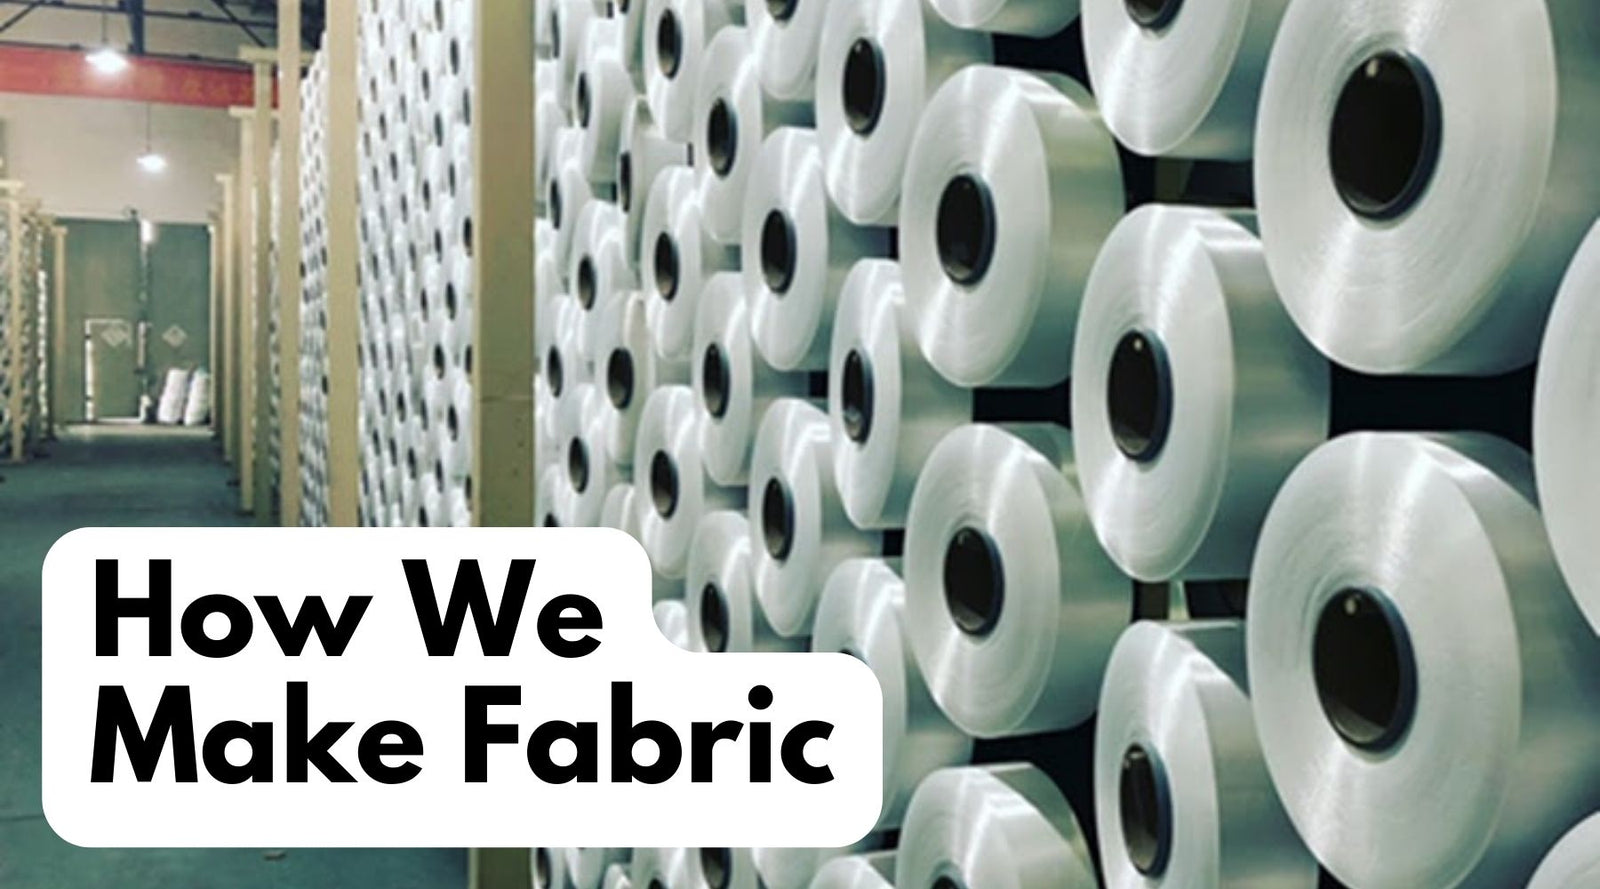
#1 - Yarn and Fiber
The first step to making any fabric is choosing the yarn/fiber.
You're probably familiar with nylon and polyester. But there are a lot of different choices, including technical ones like UHMWPE (Dyneema®) and Kevlar.
The right yarn choice depends on what qualities you'd like the end fabric to have - abrasion resistance, strength, UV, stretch, colorfastness, etc.
#2 Warping
After yarn/fiber selection, you're ready for warping. To understand warping, let's talk fabric basics.
All woven fabrics are made of yarn running in two directions - warp (lengthwise) and weft (widthwise).

In order to create the warp threads, we have to spool all the yarn/fiber up onto what's called a “warp beam.” Here's what a warp beam looks like.

The process of warping happens in a big room.
There are a bunch of racks to hold the spools of yarn (one spool for each warp thread in the fabric), the actual machine that pulls the yarns together, and the warp beam take-up.
The whole thing looks like this.


#3 Prep for Weaving
Prior to weaving, we have a few more steps to take care of. These included things like sizing (lubricating the yarns so they don't break during weaving) and counting/arranging all the warp threads that are now on the warp beam.


#4 - Weaving
At a high level, weaving is the step where actual fabric gets produced. You take the warp (lengthwise) yarns and put them together with the weft (widthwise) yarns to make a useable cloth.
Here's a video that I took during one of my last trips to our weaving mill.
In this video we're weaving fine denier (20D) box grid ripstop nylon, similar to our 1.1 oz Ripstop Nylon or 1.1 oz Silpoly.
There are a lot of technical details around weaving that we won't even begin to cover here. But in general, weaving works by feeding in warp threads (from the warm beam) and inserting weft threads in between the warp threads in a pre-determined pattern.
Let's take a basic example of plain weave fabric.
For a plain weave, each weft thread foes over one warp thread and under the next warp thread in a simple one up, one down pattern. This continues across the wdith of the fabric.
Here's what that looks like.


At this point, you might be asking, “How do they get the weft yarns in there?”
In order to make room for inserting the weft yarns, the weaving machine pulls half of the warp yarns up and the other half down to create space to “shoot” the weft yarn through the middle.
Once the weft yarn goes in, the up warp yarns flip down and the down warp yarns flip up. Then another weft yarn shoots through. That process repeats and eventually, you get a woven fabric coming out the other side of the machine.
Here's a close up picture of the weft yarn insertion using a water jet loom (the same kind of loom we're using in the previous video).

Here's one more video that I took of the same weaving machine up close, at high-speed.

Again, I'm leaving out details that we could spend hours talking through, but hopefully this gives you a general idea of how it all works.
#5 - Greige Goods Prep
The fabric coming off the loom is raw and unfinished. Before we can move on to dyeing and finishing, we have to prep the fabric.
- Desizing - Before weaving, yarn gets coated with a lubricant to avoid breakage and other problems during the weaving. There's a lot of stuff going on at high-speed during the weaving process, so a little ‘grease’ goes a long way towards making things run smoothly. That said, the grease has to be removed after weaving, otherwise we wouldn't be able to dye the fabric.
- Tentering - This step frames the fabric and aligns the warp and weft threads at 90 degree angles. If you've ever seen a fabric with curvy lines, that's most likely an issue with the tentering process.
- Scouring - Further cleaning of the fabric and adding dimensional stability. Note that this step can also be done during finishing.
- Heat Setting - Setting the width of the fabric and adding dimensional stability. Note that this step can also be done during finishing.
Once we're done with these prep steps, the fabric is in what we call “greige goods” form. This simply means that the fabric is ready to be dyed and finished.
#6 - Dyeing
The process of adding color to fabric is called dyeing.
Although you might think this is a simple process, it turns out to be quite complicated (and secretive). The exact steps in the dyeing process depend on what type of fabric you're dyeing (polyester, nylon, etc.) and the whole process is tightly controlled bye the dye house.
Given the secretive nature of the dyeing process, I've never been allowed to take picture (sorry). But here's a picture of me striking an incredibly awkward pose beside a huge roll of dyed fabric.

#7 - Finishing
After dyeing, the fabric is ready for finishing.
Finishing is a broad term covering things like coatings (silicone or PU), functional treatments (DWR, stainproof), and physical process (calendering).
Here's a quick rundown on some of the typical finishing step we perform on our fabrics.
1.DWR (Durable Water Repellant) - This is a treatment to give the fabric mild water resistance without affecting the breathability. A DWR typically gets applied as a wash-in treatment before heat setting.

2. Calendering - This is a physical process that involves running the fabric through heavy, often heated, rollers to flatten and seal the weave. Calendering is useful for improving hand feel, making fabric downproof, and adding visual sheen/shimmer to the fabric.
If you've ever worn a down jacket or slept under a down quilt, you've used a calendered fabric. Calendering can also be used to make fabric more wind resistant for lightweight outerwear such as jackets and pants.
Here's a pic of what a typical calendering machine looks line.

3. Coating - We use two main types of coatings in our fabric - silicone and PU (polyurethane).
On a basic level, the coating process involves running the fabric through a conveyor-like machine that continuously applies the coating. You control the desired coating thickness with a knife, which acts like a squeegee. Here's a video of what that looks like.
Not a ton of detail here, but this is what the various coating knives look like.


The general process is the same regardless of whether you're doing a PU or silicone coating. PU coatings are great for high waterproof ratings and being able to do taped seams, but they're heavy. Silicones coatings are lighter, but you can't achieve really high levels of waterproofing and things like tape don't stick to silicone.
And that's a wrap!
I hope you've enjoyed this series. Again, we didn't cover everything there is to know about fabric production, but this should give you a solid foundation of the steps involved and what happens in each one.
Leave a comment
Comments will be approved before showing up.