A column with no settings can be used as a spacer
Link to your collections, sales and even external links
Add up to five columns
A column with no settings can be used as a spacer
Link to your collections, sales and even external links
Add up to five columns
What you’ll need:
- The standard DIYers tool kit
- A good pack fabric like X-Pac V15
- A stretchy fabric like Flow Mesh or Stretch Mesh with Dyneema
- And Flat elastic
Tip 1: Setting up your machine
The first thing you’ll need to do is change your machine from a straight stitch to a Zig Zag stitch. The zig-zag shape allows the mesh to stretch with the stitch. Where the straight stitch remains static not allowing the mesh to expand properly
As always, make sure you have a new and sharp needle. As well as dialing in your thread tension. Use some scraps to make sure you get the best results
Tip 2: Assembly
One of the biggest problems with stretch mesh is that it often puckers when you feed it through the machine.
We can alleviate that by taping the mesh down to the fabric blank with double-sided tape which will keep it from stretching as you feed it through the feed dogs.
Something to note, you should always cut the mesh larger than your fabric blank. You can trim it down later. But you cant add more mesh, and you really do not want to pull the mesh across the blank to “make” it fit
Tip 3: Finishing the Raw Edge
When you’re working on an actual project, you’ll actually need to do this first, but we wanted to show you all those other steps before you got to this step.
There are two ways you can finish a raw edge with stretch mesh. The first is binding.
You can use your double-sided tape here as well. To apply the binding, you’ll sandwich the flat elastic over the stretch mesh and run your zig-zag stitch to attach the two.
The second tip is to do a rolled hem. We’ll also use the double-sided tape here to help keep the folds even. Remember a rolled hem is just two ¼” folds that hide the raw edge. And don’t forget, use a zig-zag stitch here as well.
Finishing:
Sewing with stretch mesh is a great skill to have. You can start to integrate things like water bottle pockets, phone pockets, and a lot more.
Like everything in DIY, take your time, practice your skills, and you’ll figure it out.
Products In The Video:
9.3 oz Stretch Mesh with Dyneema:
https://ripstopbytheroll.com/products/9-3-oz-stretch-mesh-nylon-6-6-with-dyneema?variant=39467771723946
Printable Flow Mesh:
https://ripstopbytheroll.com/products/outdoorink-print-on-demand-fabric?variant=13664779173936
X-Pac V15:
https://ripstopbytheroll.com/products/x-pac-v15
Thread snips:
https://ripstopbytheroll.com/products/fiskars-short-cut-snip?variant=26398934657
Scissors:
https://ripstopbytheroll.com/products/fiskars-reg-original-8-scissors?variant=26398116673
Seam Roller:
https://ripstopbytheroll.com/products/singer-proseries-seam-roller
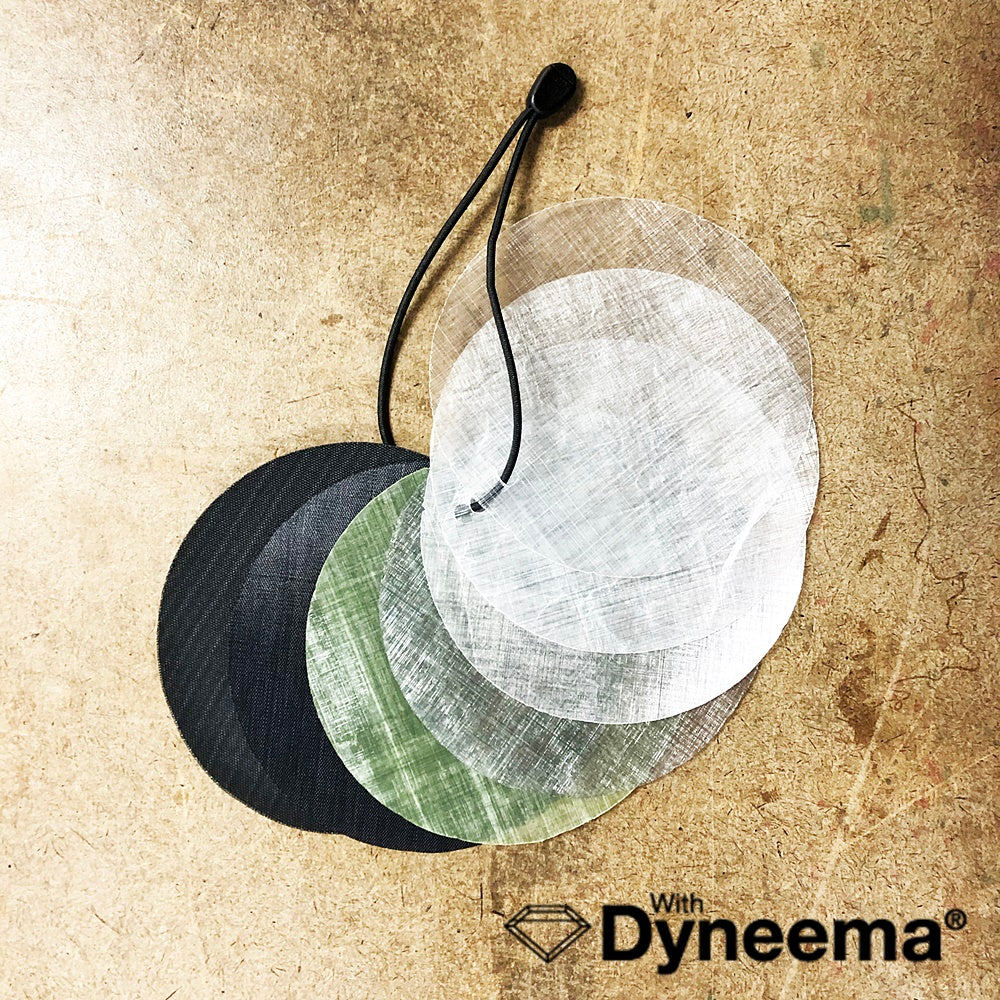
4-way stretch woven ripstop that combines an ultra High-Tenacity Nylon 6.6 base weave with Dyneema® grid reinforcement.
Custom knit with a super-strong nylon 6.6 base yarn and laced with a silver reflective tracer throughout
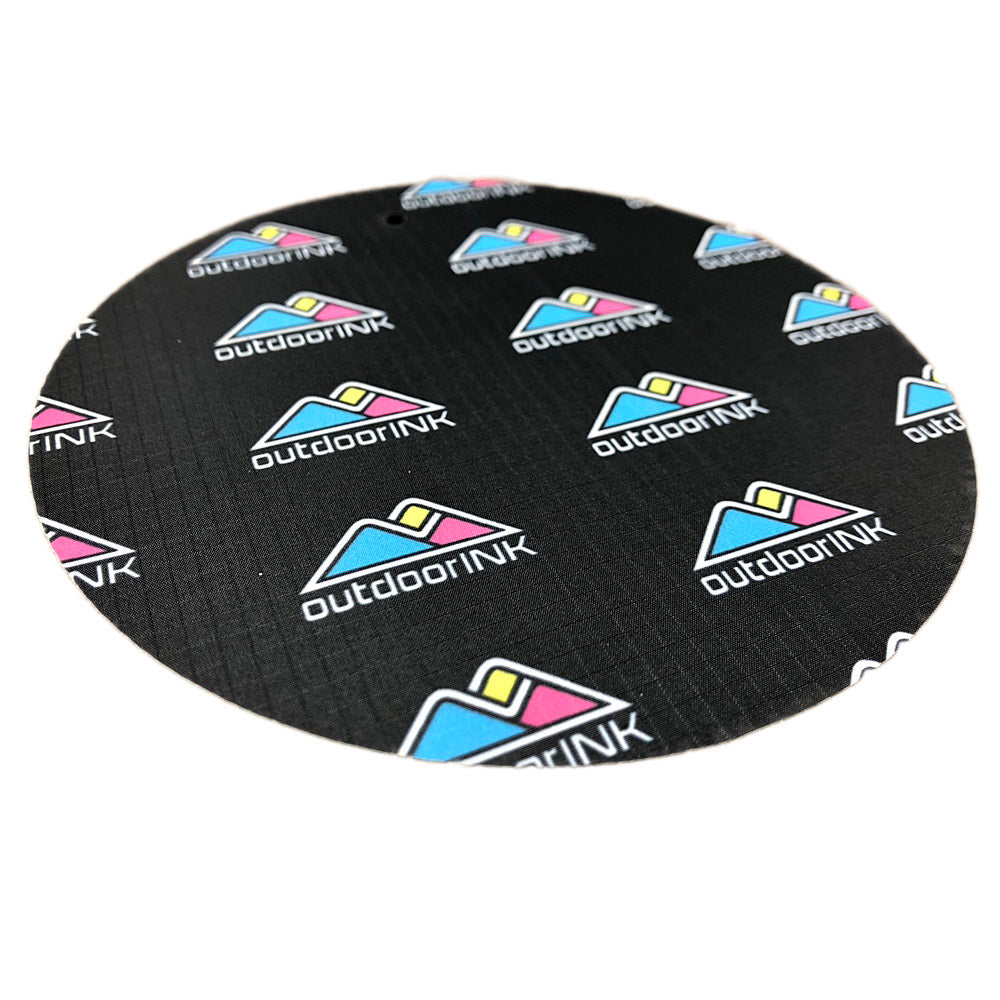
This is OutdoorINK - the world's first digital print-on-demand capability for outdoor gear fabrics.