Your Cart is Empty


8 Ways to Improve Your Sewing Space

Whether you’re sewing in a spare bedroom, a garage corner, or a multi-purpose room, every square foot of your maker space matters. As makers ourselves, we know that a well-organized workspace doesn’t just make your setup look good—it helps you work faster, stay focused, and enjoy the process more.
In this post, we’re breaking down some of our favorite ways to optimize your sewing space. Each idea falls into one of two categories: space-saving strategies that help you do more with less room, and efficiency upgrades that keep your workflow smooth and frustration-free. From vertical storage to better lighting—and even a trick that involves a shoe organizer—these tips are designed to help you work smarter, no matter how much room you have.
Let’s dive in.
Tips for saving space
These tips are for the makers and designers who are short on square footage. Many of us are working out of back bedrooms, office corners, or less-than-generous areas. These four ideas should help you make the most of your space and clear up a little extra room.
Hanging Your Patterns

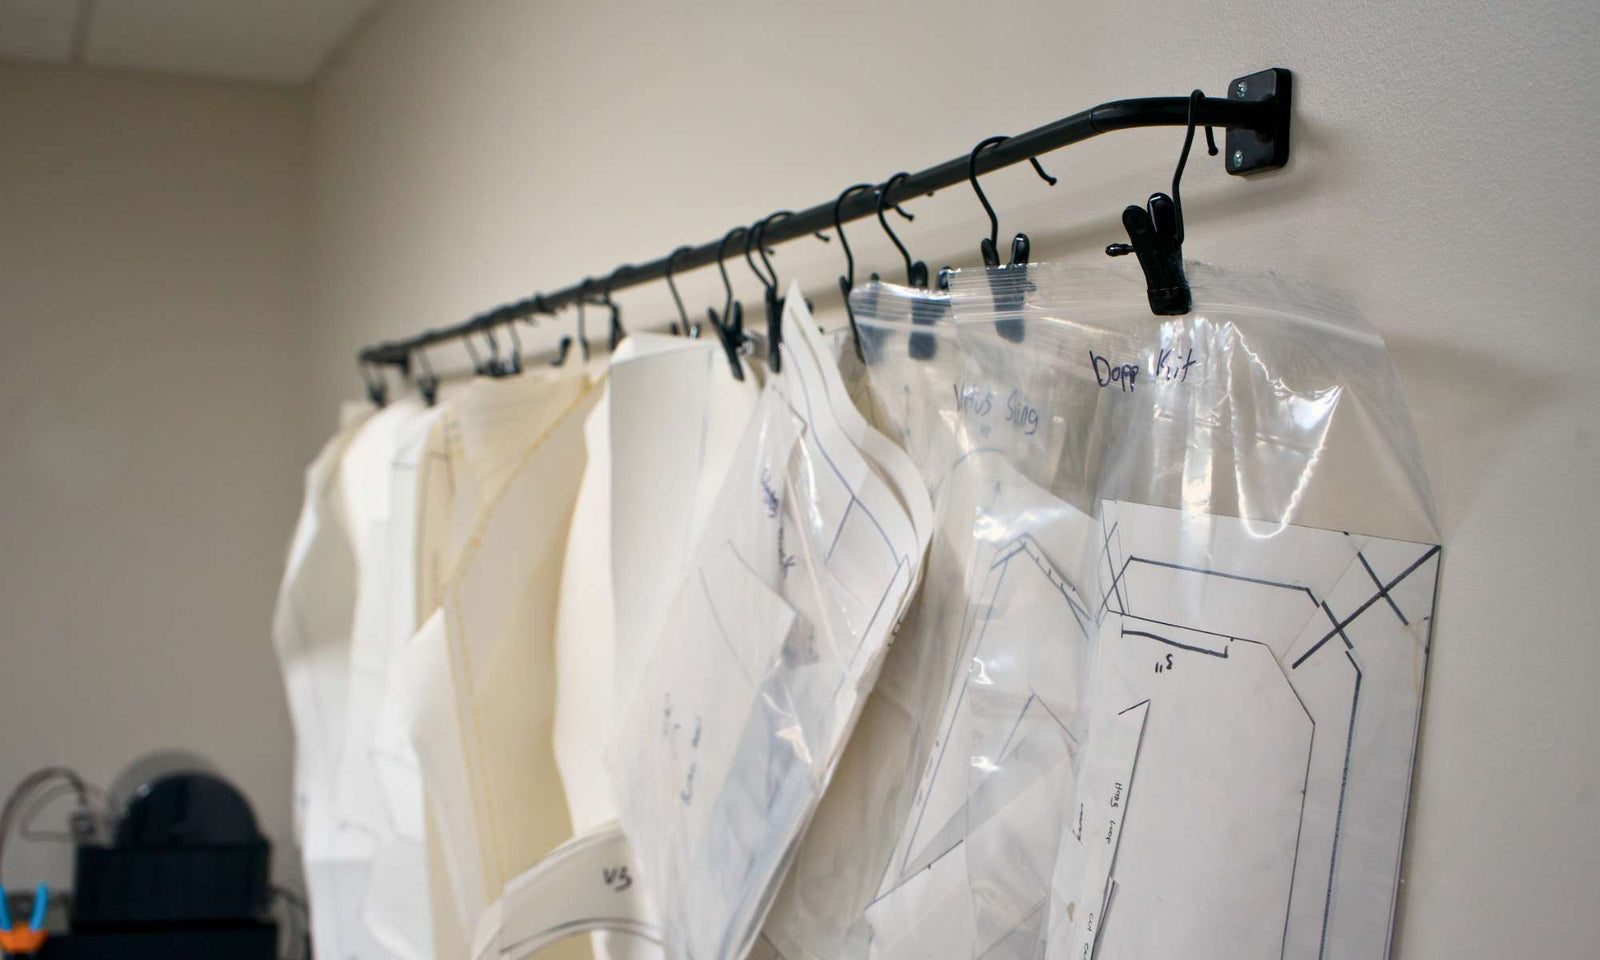
Paper patterns are a staple for many DIYers, but they can take up a lot of room—especially when you're trying to keep them flat and undamaged. One of our favorite ways to store patterns is by hanging them on a curtain rod. We use a clip-and-hook system with pattern pieces organized in labeled plastic bags. Other makers have had success with binder rings, alligator clips, and other simple methods. Whatever you choose, vertical pattern storage keeps things tidy and accessible.
We hung a curtain rod in the maker space, but a normal closet rod can also be a great use of space.
Projector Sewing

If you’re tired of managing bulky paper patterns, switching to projector sewing can free up a lot of space. The process is similar—you still trace and cut around lines—but everything is stored digitally and projected directly onto your fabric. It’s a game-changer for organization and efficiency. Want to learn more? We break it all down in Episode 120 of our podcast.
Use Shoe Hangers For Storage

Vertical storage can be a big win, but it’s often pricey. That’s where shoe hangers come in. Clear hanging shoe organizers are an affordable way to use wall or door space that would otherwise go unused. Plus, the transparent pockets let you quickly identify contents. Use them to store cordage, webbing, zipper coils, components, or other project accessories.
Respool your cordage

The packaging that cordage or webbing comes in is often bulky or oddly shaped. Creating a consistent, uniform method for storing these materials—like respooling them onto matching spools or bobbins—saves a ton of space and makes it easier to measure out what you need without the mess.
Efficiency Tips
The other half of an optimized maker space is all about ease of use. These tips help you spend less time searching, sorting, or getting frustrated—and more time creating.
Component Drawers

These are a must-have. Component drawers make it quick and easy to grab what you need. They also give you instant visual cues when you're running low on something—no more last-minute runs to restock.
Pegboard

No matter the size of your space, a pegboard can dramatically improve both organization and efficiency. Available in sizes from 1 foot to 8 feet wide, pegboards are perfect for hanging frequently used tools. To get even more from it, organize your layout so the most-used tools are closest to your main work area.
Magnets

If you’re using an industrial machine, chances are the body is magnetic. Take advantage of that. Attach items like thread snips or a lighter to the machine body using magnets. It keeps your most-used tools close at hand—and less likely to disappear mid-project.
Lighting

Lighting is often overlooked, but it’s essential. Good, balanced lighting makes straight stitching, clean cuts, and precise markings much easier. You don’t need expensive studio lights to make a difference. Focus on eliminating shadows with a three-point lighting setup:
-
LED strip lighting under the machine
-
Ring light/architect light above the workspace
-
Direct overhead light for the cutting area
Leave a comment
Comments will be approved before showing up.