Your Cart is Empty


8 Things You Need to Know Before Making Your Own Bike Bag

When you’re designing your own bike bag, there’s a lot more to think about than just size and shape. The best bags strike the right balance between durability, function, and style without overcomplicating the process. Whether you’re making a frame bag, top tube bag, or handlebar roll, here are five thoughtful features that can take your design from obviously DIY to better than the big companies.

1. Inner Tubes Are Your Friend
Velcro is one of the most common ways to attach bike bags, and for good reason, it’s simple and effective. The downside? It can scratch your frame over time. Luckily, the fix is cheap, easy, and might already be sitting in your garage.
Grab an old inner tube, slice it open, and clean off any dirt or powder. Then cut pieces to match your Velcro strips and baste them on. The rubber adds a protective layer between the Velcro and your frame, prevents scratches, and even gives your straps a little extra grip and structure.

2. Foam Inserts Matter
Foam inserts are one of those details you might be tempted to skip. Here’s why you shouldn’t. They’re crucial for both protection and structure.
First, padding helps stop hard items like pumps, phones, and tools from rattling against your frame. That extra buffer keeps your gear quiet and your bike looking clean. Second, foam helps your bag hold its shape. Without it, a fully stuffed bag can bulge, sag, or rub against your legs on long rides. The only thing you should be thinking about is fueling and riding, not how annoying the fabric feels on your right quad.

3. Add a Zipper Garage
A small detail that makes a big difference: the zipper garage. It keeps rain, mud, and dust out of your bag and gives your zipper pulls a tidy place to park. It’s a simple upgrade that adds polish and improves your bag’s durability.
Most zippers fail from the sliders, a zipper garage is a great way to protect your sliders from build-up meaning it can last longer and be less of a hassle.

4. Dial-In Your Seam Allowance
Before cutting your fabric, think through how your bag will fit. If you’re making a frame bag, trace your frame triangle onto cardboard to create a template. That gives you the exact shape, but not your finished fit.
Once you’ve got your cardboard cutout, trace it again and add your seam allowance (usually ¼ or ½ inch). That extra space makes all the difference between a gappy, loose fit and a clean, snug one that looks like it was made by a pro.

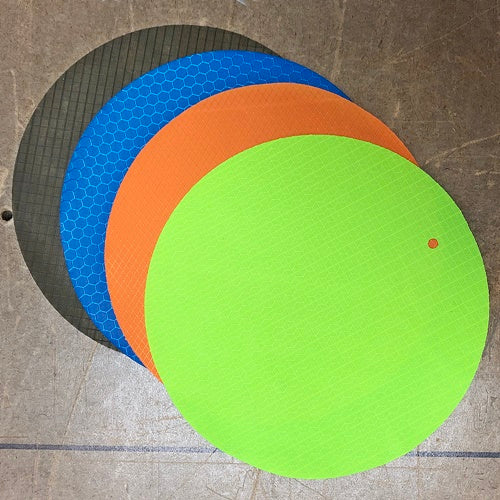
5. Bright Liners for the Win
Have you ever dug through a dark bag looking for a tiny multitool or snack? Not great. A bright interior liner solves that. Use a pop of color, something like neon yellow or blaze orange and you’ll instantly see what’s inside. It’s practical, cheerful, and adds a touch of personality to your build.

6. Keep the Width in Check
When you’re sketching out your pattern, it can be tempting to go a little wider—after all, more space means more storage, right? Not always. A frame bag that’s too wide can quickly turn from helpful to headache. As you pack gear inside, the bag naturally starts to bulge outward. The wider your initial design, the more that bulge can interfere with your pedal stroke. Few things get more annoying than your legs brushing against your bag mile after mile. A good rule of thumb: keep your bag under 4 inches wide—ideally closer to 3 inches if you want a snug, streamlined fit. Your knees (and your sanity) will thank you later.

7. Include a Tube Port
If your setup includes a hydration bladder or a bike light with a cable, a tube port is a nice finishing touch. It lets you route a hose or wire cleanly through your bag so everything stays organized and out of the way. One easy way to do this is by overlapping your zipper gussets instead of stitching them together, creating a simple, weather-resistant opening.

8. Organize the Essentials
Every rider has a couple items that never leave their bag. That might be a hand pump, gear strap, light battery, or other specific items. For those things that are staples on your bike, try building a sleeve for those things so they stay right where they need to be.
In the bag pictured, there is a pump sleeve attached to the top panel. This keeps the pump from getting lost in the shuffle when the bag is packed out. Plus, it’s easy to access with a double ended access.
Wrapping It Up
Building your own bike bag is one of those projects that rewards attention to detail. From foam inserts to bright liners, these features don’t just make your bag more functional they make it feel dialed. Experiment, tweak, and make it your own. Because the best part about MYOG is that every ride starts with something you created.
Bonus: Recommended materials
Exterior:
- Challenge Sailcloth
- X-Pac®
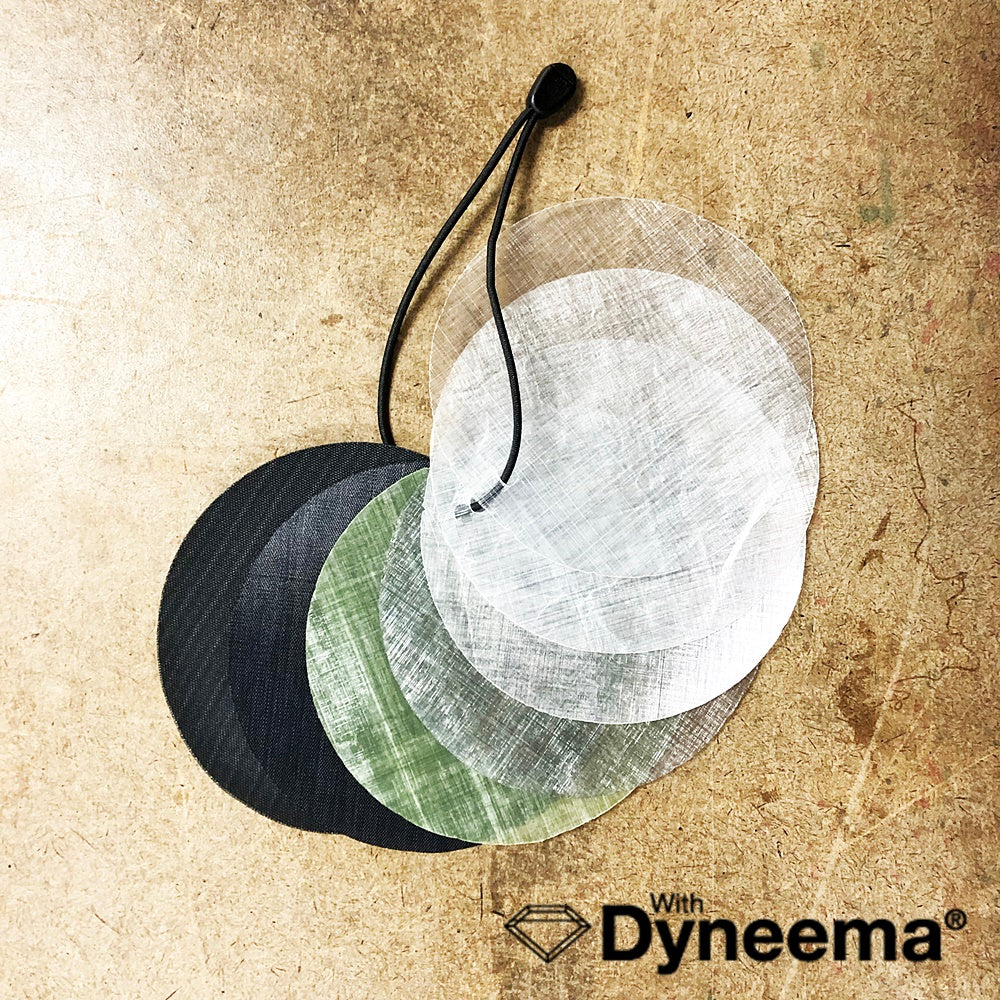
- Dyneema® Composite Hybrid
- 2.92 oz and 5.0 oz
- ROBIC
- Cordura
- Or other waterproof, durable, easy to sew, fabrics that match your color interest.
Liner:
- 1.9 oz PU Coated Ripstop Nylon
- 2.2 HEX70 XL PU3000
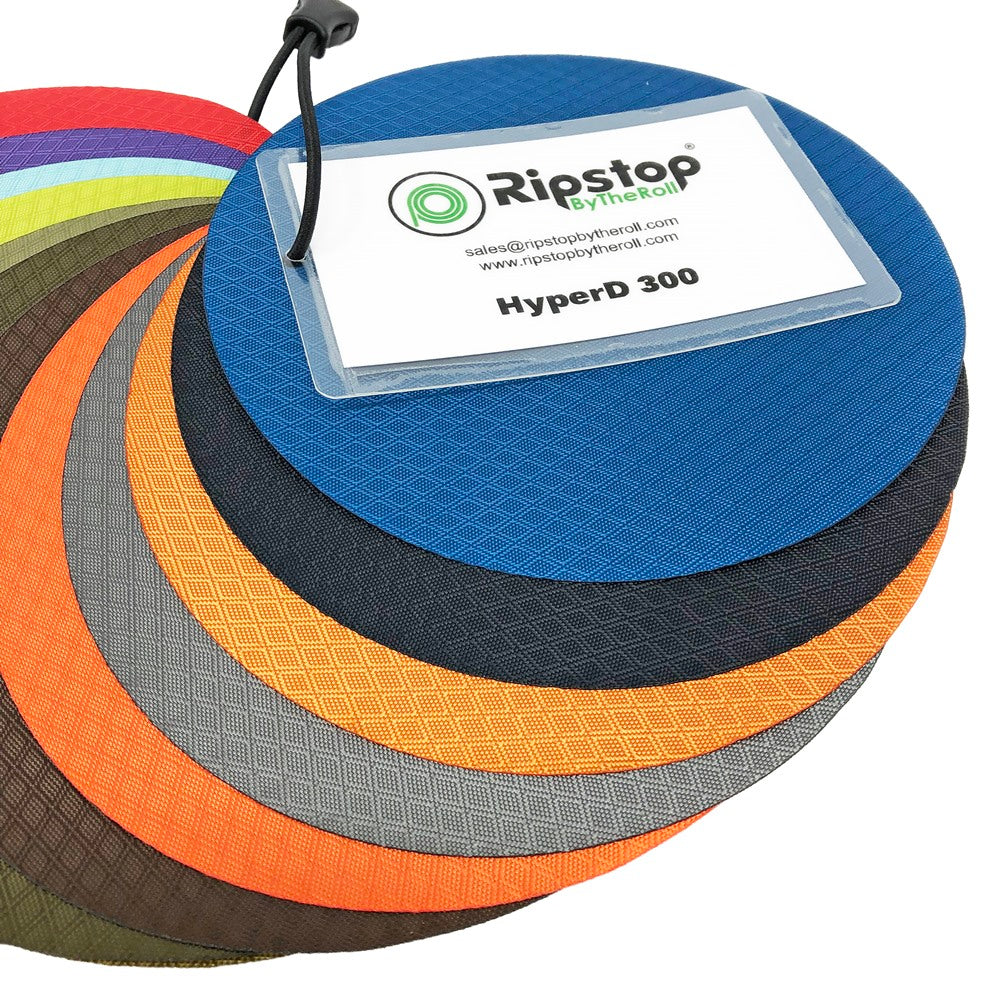
- HyperD 300
- Or other waterproof, lightweight, bright colored, and semi-durable materials.
Foam:
- XLPE Foam
- Or other types of thinner closed-cell foam
Leave a comment
Comments will be approved before showing up.