
Your Cart is Empty
No need to be nervous about working with Dyneema! We know that making with Dyneema is an investment, and for a good reason. Its strength is unrivaled at 15x stronger than steel with one the highest tear and tensile strengths for any fabric. (Read more about Dyneema here)
Because of these things, we understand that it makes Dyneema more intimidating to work with. So, we've put together four helpful tips to make working with Dyneema more seamless.
You don't want to create holes in a highly waterproof fabric, right? Using binder clips, clothes pins, or sewing clips will help keep the fabric in place without creating holes. Sewing clips are especially handy because they have flat backs which lets the fabric lay flatter.
Yes and No.
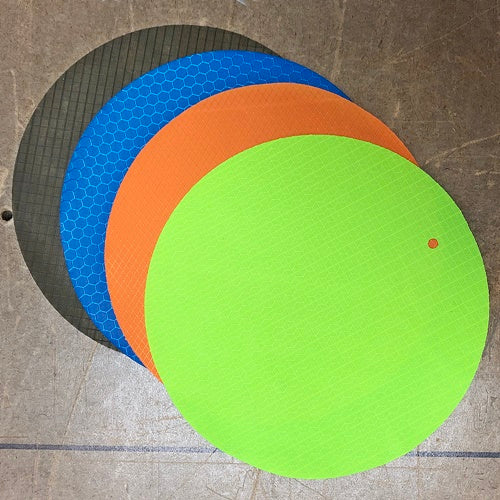
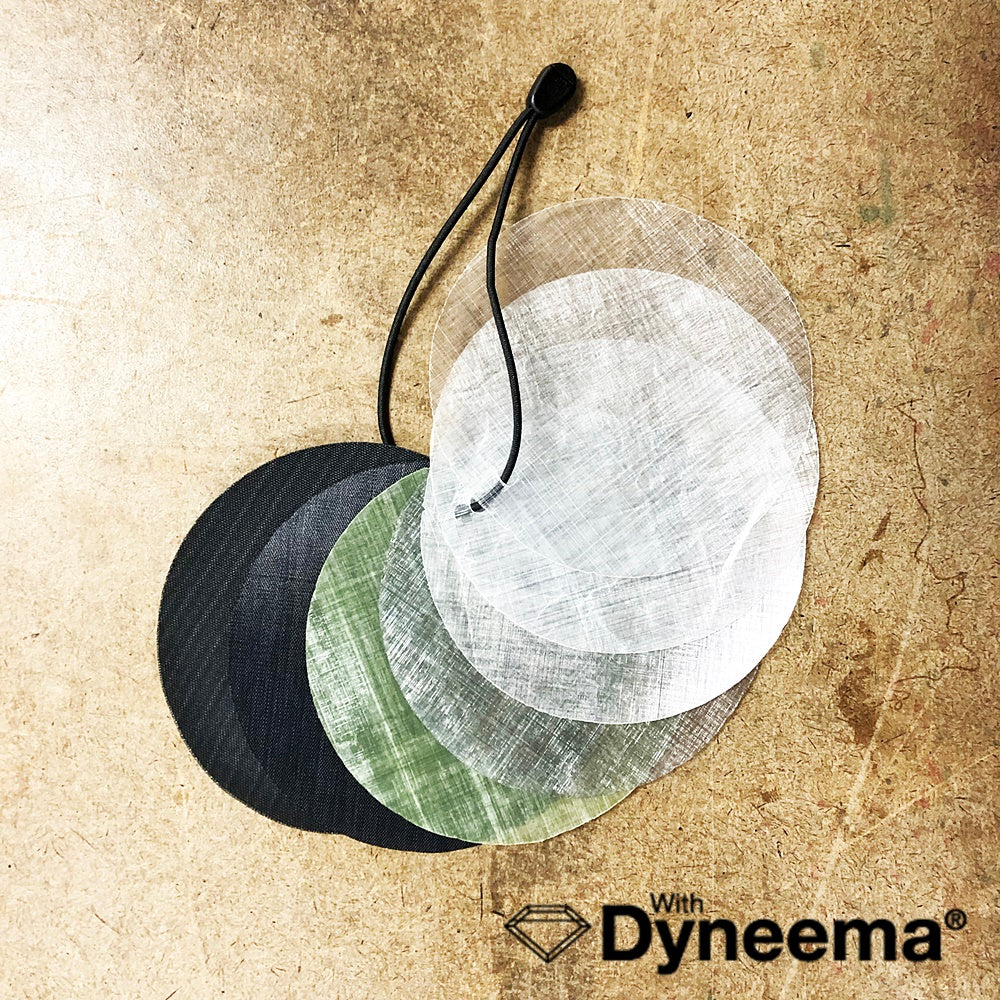
But what is the right and wrong side? The right side of the fabric or 'face' is the side that faces out on your gear. The wrong side is also the 'back' of the fabric, the side that will be on the inside of your gear.
Most of the Dyneema Cuben Fiber variants do not have a right and wrong side because the Dyneema fibers are laminated with plastic. (i.e. 0.51, 1.0 , 1.43).
The DCF Hybrids do have a right and wrong side, because they have a polyester face laminated to them (i.e. 2.92, 5.0)
Using a walking foot can be really helpful for sewing Dyneema or other fabrics that tend to slip. It helps keep fabric from slipping by gripping the top layer of fabric and moving it under the needle while the machine's feed dogs are moving the bottom layer of fabric. Always practice with a scrap of fabric before you start your project.
To apply the Dyneema Cuben Fiber repair tape you should turn the pack, tent, stuff sack, or other fabric inside out and apply a piece of the repair tape to the inner lining of the fabric. Lay the fabric you're patching as flat as possible. Using a flat rolling pin or similar rolling device over the patch on top of a hard, smooth surface. Make sure you smooth over it several times with pressure to ensure the tape sticks entirely. The Cuben Fiber repair tape will set and cure at room temperature after several hours.

Our recommendation for needle size when sewing with Dyneema is as follows…
Needle Size 8-10 (0.34 oz, 0.51 oz, 0.67 oz, 0.8 oz)
Needle Size 10-12 (1.0 oz, 1.43 oz, 1.5 oz)
Needle Size 12-14 (2.92 oz, 3.5 oz, 5.0 oz)
Thread Recommendations:
Fabrics weighing less than 1.0 oz: Gutermann Mara 100
Fabrics weighing 1.0 oz – 3.0 oz: Gutermann Mara 70 or Tera 80
Fabrics weighing 3.0 oz – 6.0 oz: Gutermann Mara 50
Hope that helps! If you have any more questions, feel free to email us at support@ripstopbytheroll.com

Very informative. Do you have any needle and/or thread recommendations for making with Dyneema?
Comments will be approved before showing up.


Grigory
November 10, 2020
Hi, “link to ebook” in the first paragraph supposed to be actual link? :)