Your Cart is Empty

In the world of hiking gear, cutting weight typically means spending more money. It's a double-edged sword. Ultralight gear often costs more because the materials used are lighter, stronger, and/or more technically advanced. All that R&D ain't free!
Instead of buying it in a store, you can save money - and often reduce weight - by DIYing your gear. In fact, if you make your own "Big 3" - Backpack, Shelter, Quilt - you'll also have gear that is made to your exact needs and specifications.
But since those are pretty intense projects for a beginner, in this article we'll show you some easy hacks for saving weight and money right away.
This might seem like a no-brainer, but for someone just getting into the hiking, it's easy to get excited and buy the fanciest gear without considering how much it weighs. It's not until you get out into the woods with 25+ pounds on your back that you start to realize how heavy everything is.
Do this instead - grab a kitchen scale, pull out a piece of paper, excel sheet, or sign on to Lighterpack (a great resource for weighing and tracking all your gear) and start weighing all of your items. This will give you an idea of what your base weight will be.
If you're totally new to this, your base weight is the weight of all your gear fewer consumables like food and water. For example, your backpack, shelter, sleeping system, stuff sacks, clothing, medical kit, water filter, cookware, phone, camera, and battery pack all factor into your base weight.
Let's say you hypothetically have five, standard 10-liter stuff sacks purchased from a big box store. We'll assume they each weigh ~3 oz and cost anywhere from $20-30. That's almost a pound of weight on your back and $100-150 gone from your pocket.
If you're like me and want a separate bag for everything, making your own stuff sacks instead of buying them can help you save both money and weight. With just one yard of fabric, you'll be able to make around 5-8 varying sizes and shape stuff sacks for all your needs.
In addition, adding small customizations like a divider to your stuff sack will help you combine similar items and stay organized. When you make your own stuff sack, you can make it exactly the way you want - drawstring, zipper, buckle closure, you name it.
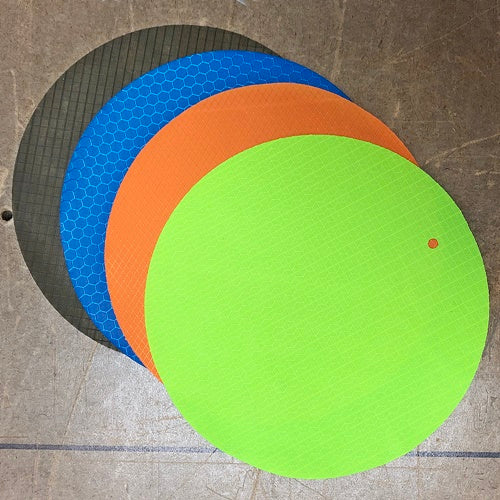
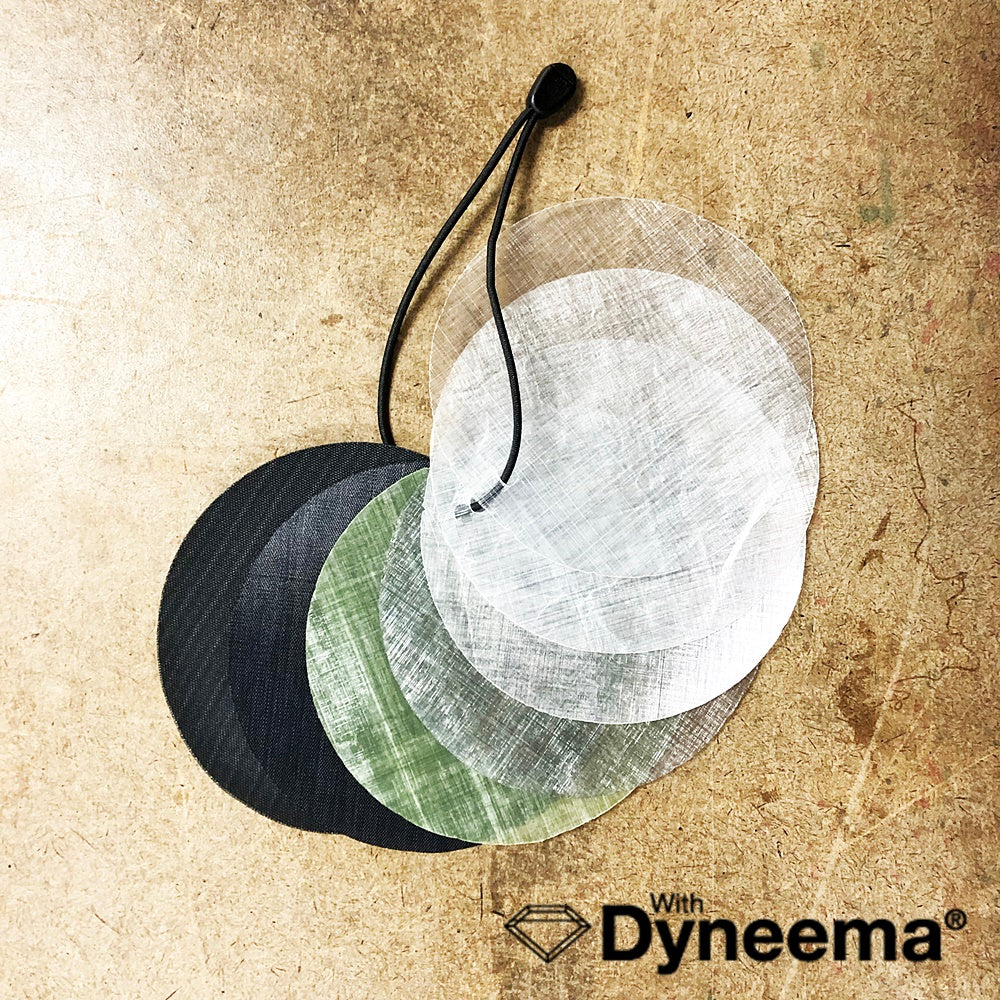
One of the lightest fabrics we offer that makes great light-duty stuff sacks. This option is pricier than other fabric options at $16 /half yard but still much less expensive than buying your own DCF stuff sack at $20+ a bag.
Another great fabric that's slightly transparent, making it easy to find things when you need them. At $7.50/yard, you could easily get away with your stuff sacks being around $1.50 /bag, even with the closure system.
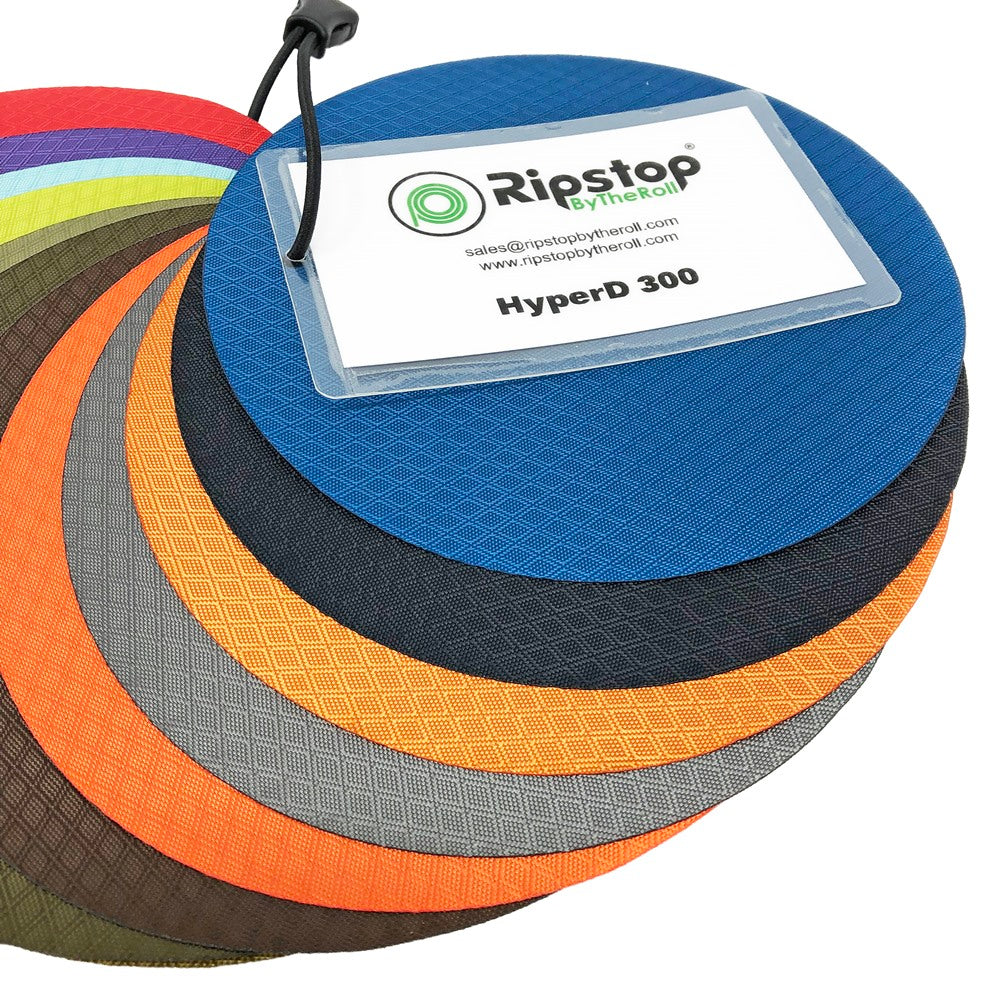
One of our most cost-effective options and colorful for stuff sacks. Only $4.75-$6.50 per yard and we have over 20+ colors! You can also expect it to be 20-30% lighter than most standard silnylon stuff sacks.
Lastly, don't forget about the components for your closure system. Here are a few links to help you out: Snaps, zippers, drawstrings, or buckles
If all the fabric and component options scare you, we also offer DIY kits with everything included so you really don't even have to think about it. Shop all of our DIY accessory kits here. (Hint: It will still be cheaper than buying a finished product from a store!)
Ponchos are great for a lot of reasons.
First, the breathability is superior to a rain jacket because you can unsnap the sides for more airflow. The sleeves are also looser than a rain jacket, so you won't overheat as easily.
Second, you can make the poncho big enough that it doubles as a pack cover. If you're shorter in stature, a regular size poncho can also double as a rain skirt/rain pants, but if you're taller, you may need to add length to the poncho.
Basically, with a poncho you're ditching three pieces of gear for one really awesome multi-use item. One poncho is now your rain jacket, rain skirt, a pack cover, and even possibly a tarp. If you make your own you'll be saving lots of money, weight, and volume in your pack.
You can buy our adult rain poncho pattern or copy a poncho you have at home already and modify it to your requirements.
An easy choice for the lightest, thinnest, waterproof fabric we offer. It packs up really small and it's also coated on both sides with a super high-end silicone coating for maximum durability and an ample waterproof (HH) rating of ~2000 mm. At $14.95/yard it's not the cheapest, but it will definitely still save you money.
An all-around great choice because it's ultralight and ultra-cost-effective. You can't go wrong with the color options either. Priced at $5.25-$6.75 /yard you could make a poncho for $18-$24!
Our most waterproof option with a hydrostatic head of >9000 mm. And yes, it is also breathable. It's worth the $10.25 /half yard and we promise it will still be cheaper than that Arc'teryx jacket you were eyeing.
It has a specially formulated laminate film that is highly resistant to water droplet penetration (i.e. rain) while also allowing moisture vapor (i.e. sweat) to pass through and escape.
If you're going to make your own stuff sacks, you may as well tack on a bear bag set up! After all, it's basically a large stuff sack with a flat bottom. A rock sack? That's just a mini stuff sack! Buying a finished bear bag will cost you about $50, but you can make your own for much less (even with Dyneema).
You don't want the fabric to be as thin as a stuff sack that sits inside your backpack, because if you're hanging your food bag in a tree, you'll need it to be more abrasion resistant against limbs and twigs. You also want it to be water-resistant to be able to handle adverse weather conditions. You really don't want your food getting wet.
At $17.50 /half yard, it's the most expensive option but most similar to other finished bear bag options on the market. It's definitely the lightest, strongest, and most waterproof material we recommend for this project.
Good durability plus an excellent waterproof coating.
Our most cost-effective option at $6.50/yard. It's highly durable and waterproof with a thick PU (polyurethane) coated backside and DWR (Durable Water Repellent) front.
Ultralight hiking gear doesn't have to be expensive. You can always find ways to be more resourceful, cut weight, and save money by making your own gear.
Let us know how you cut weight and save money with MYOG backpacking/hiking in the comments below. We'd love to hear!
Comments will be approved before showing up.