Holidays are the best time of the year, but that doesn't mean you need to spend a fortune decorating. If you have a small scrap stash of fabric, we're sure there is a project you could create to make the holidays... more you :)
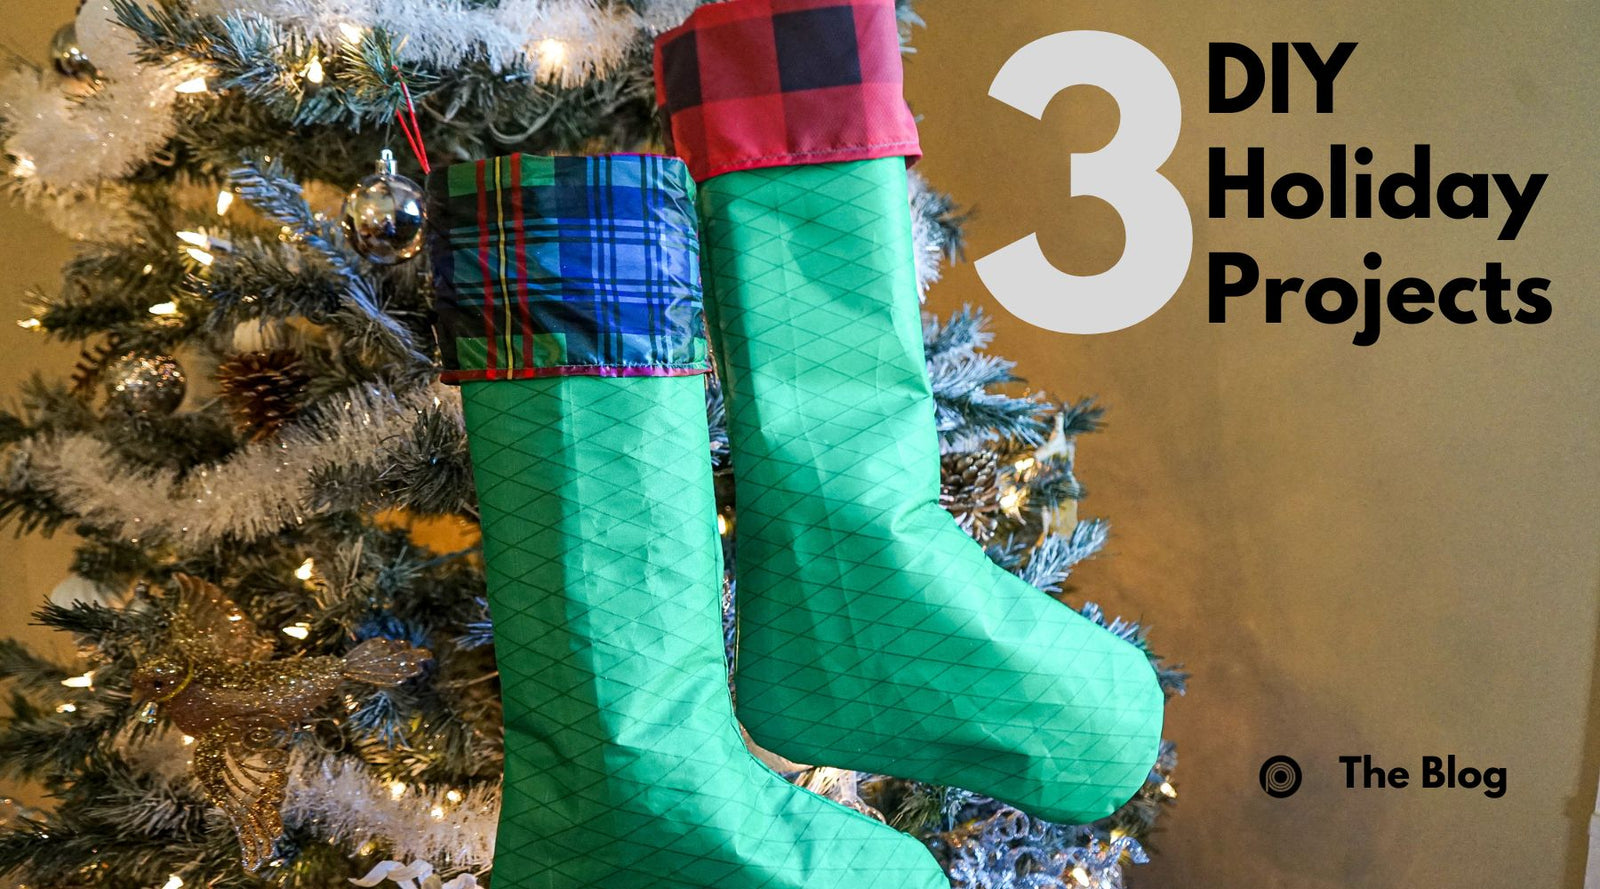
1. DIY Stocking
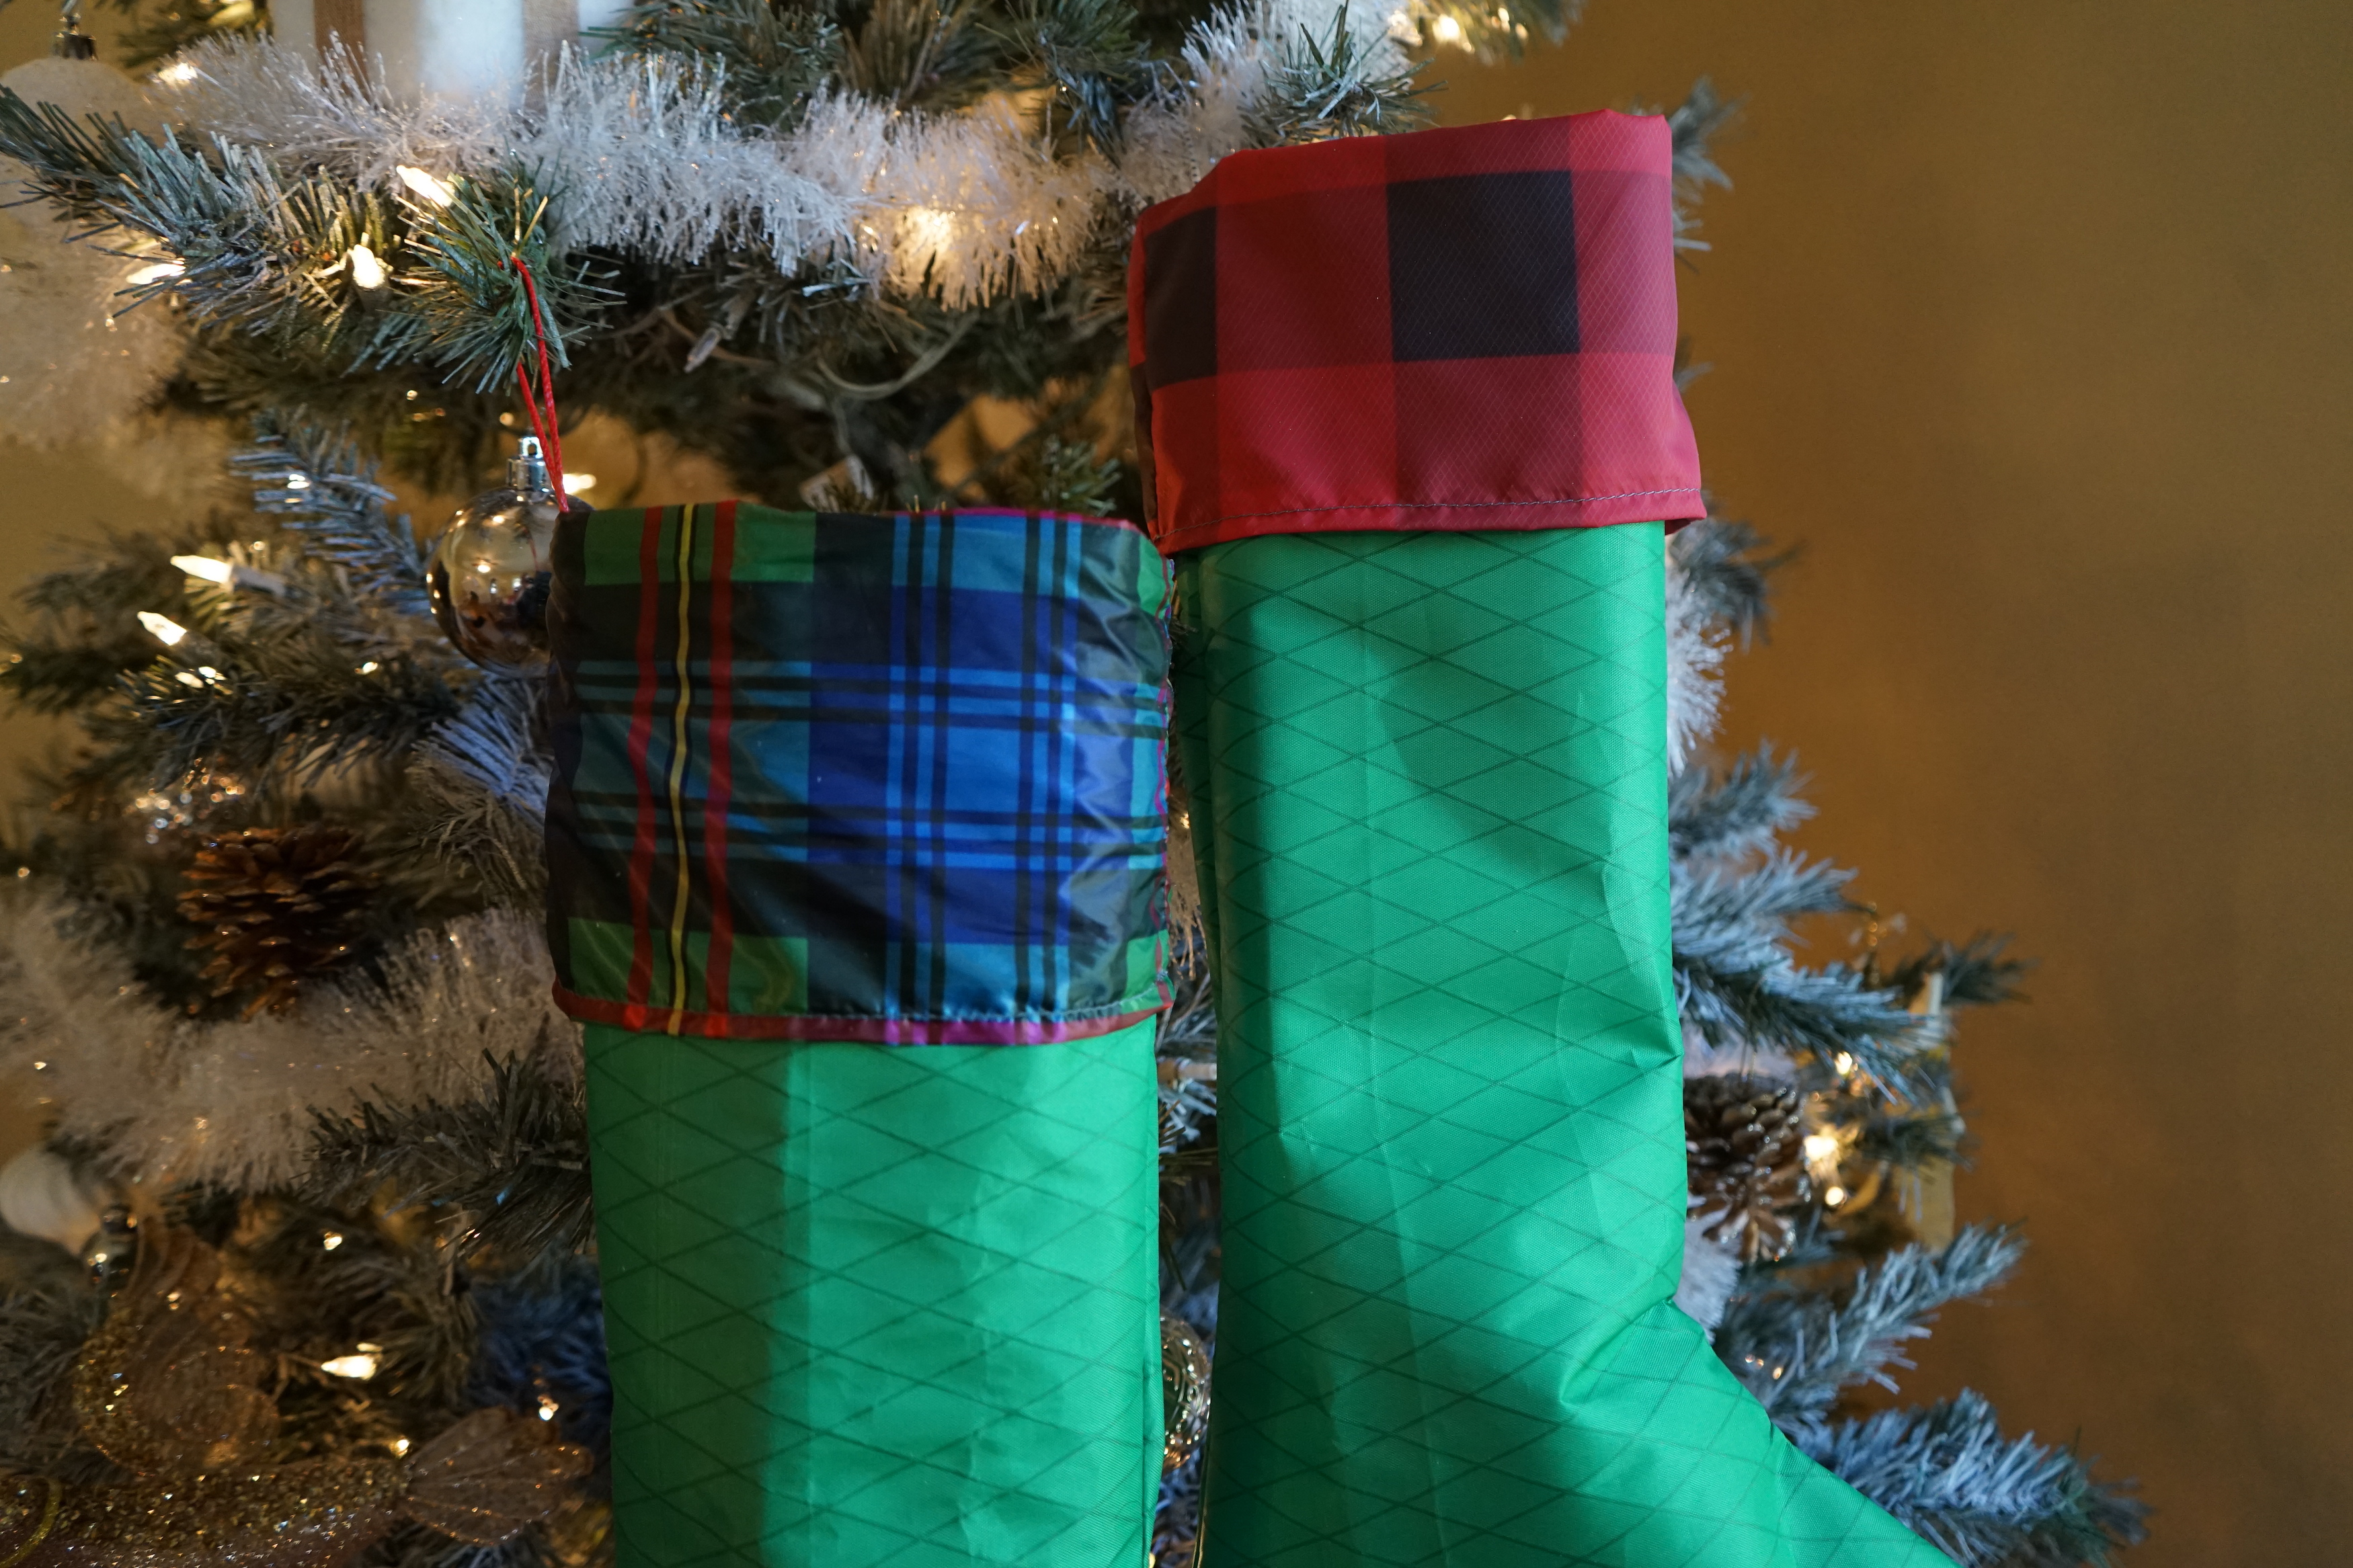
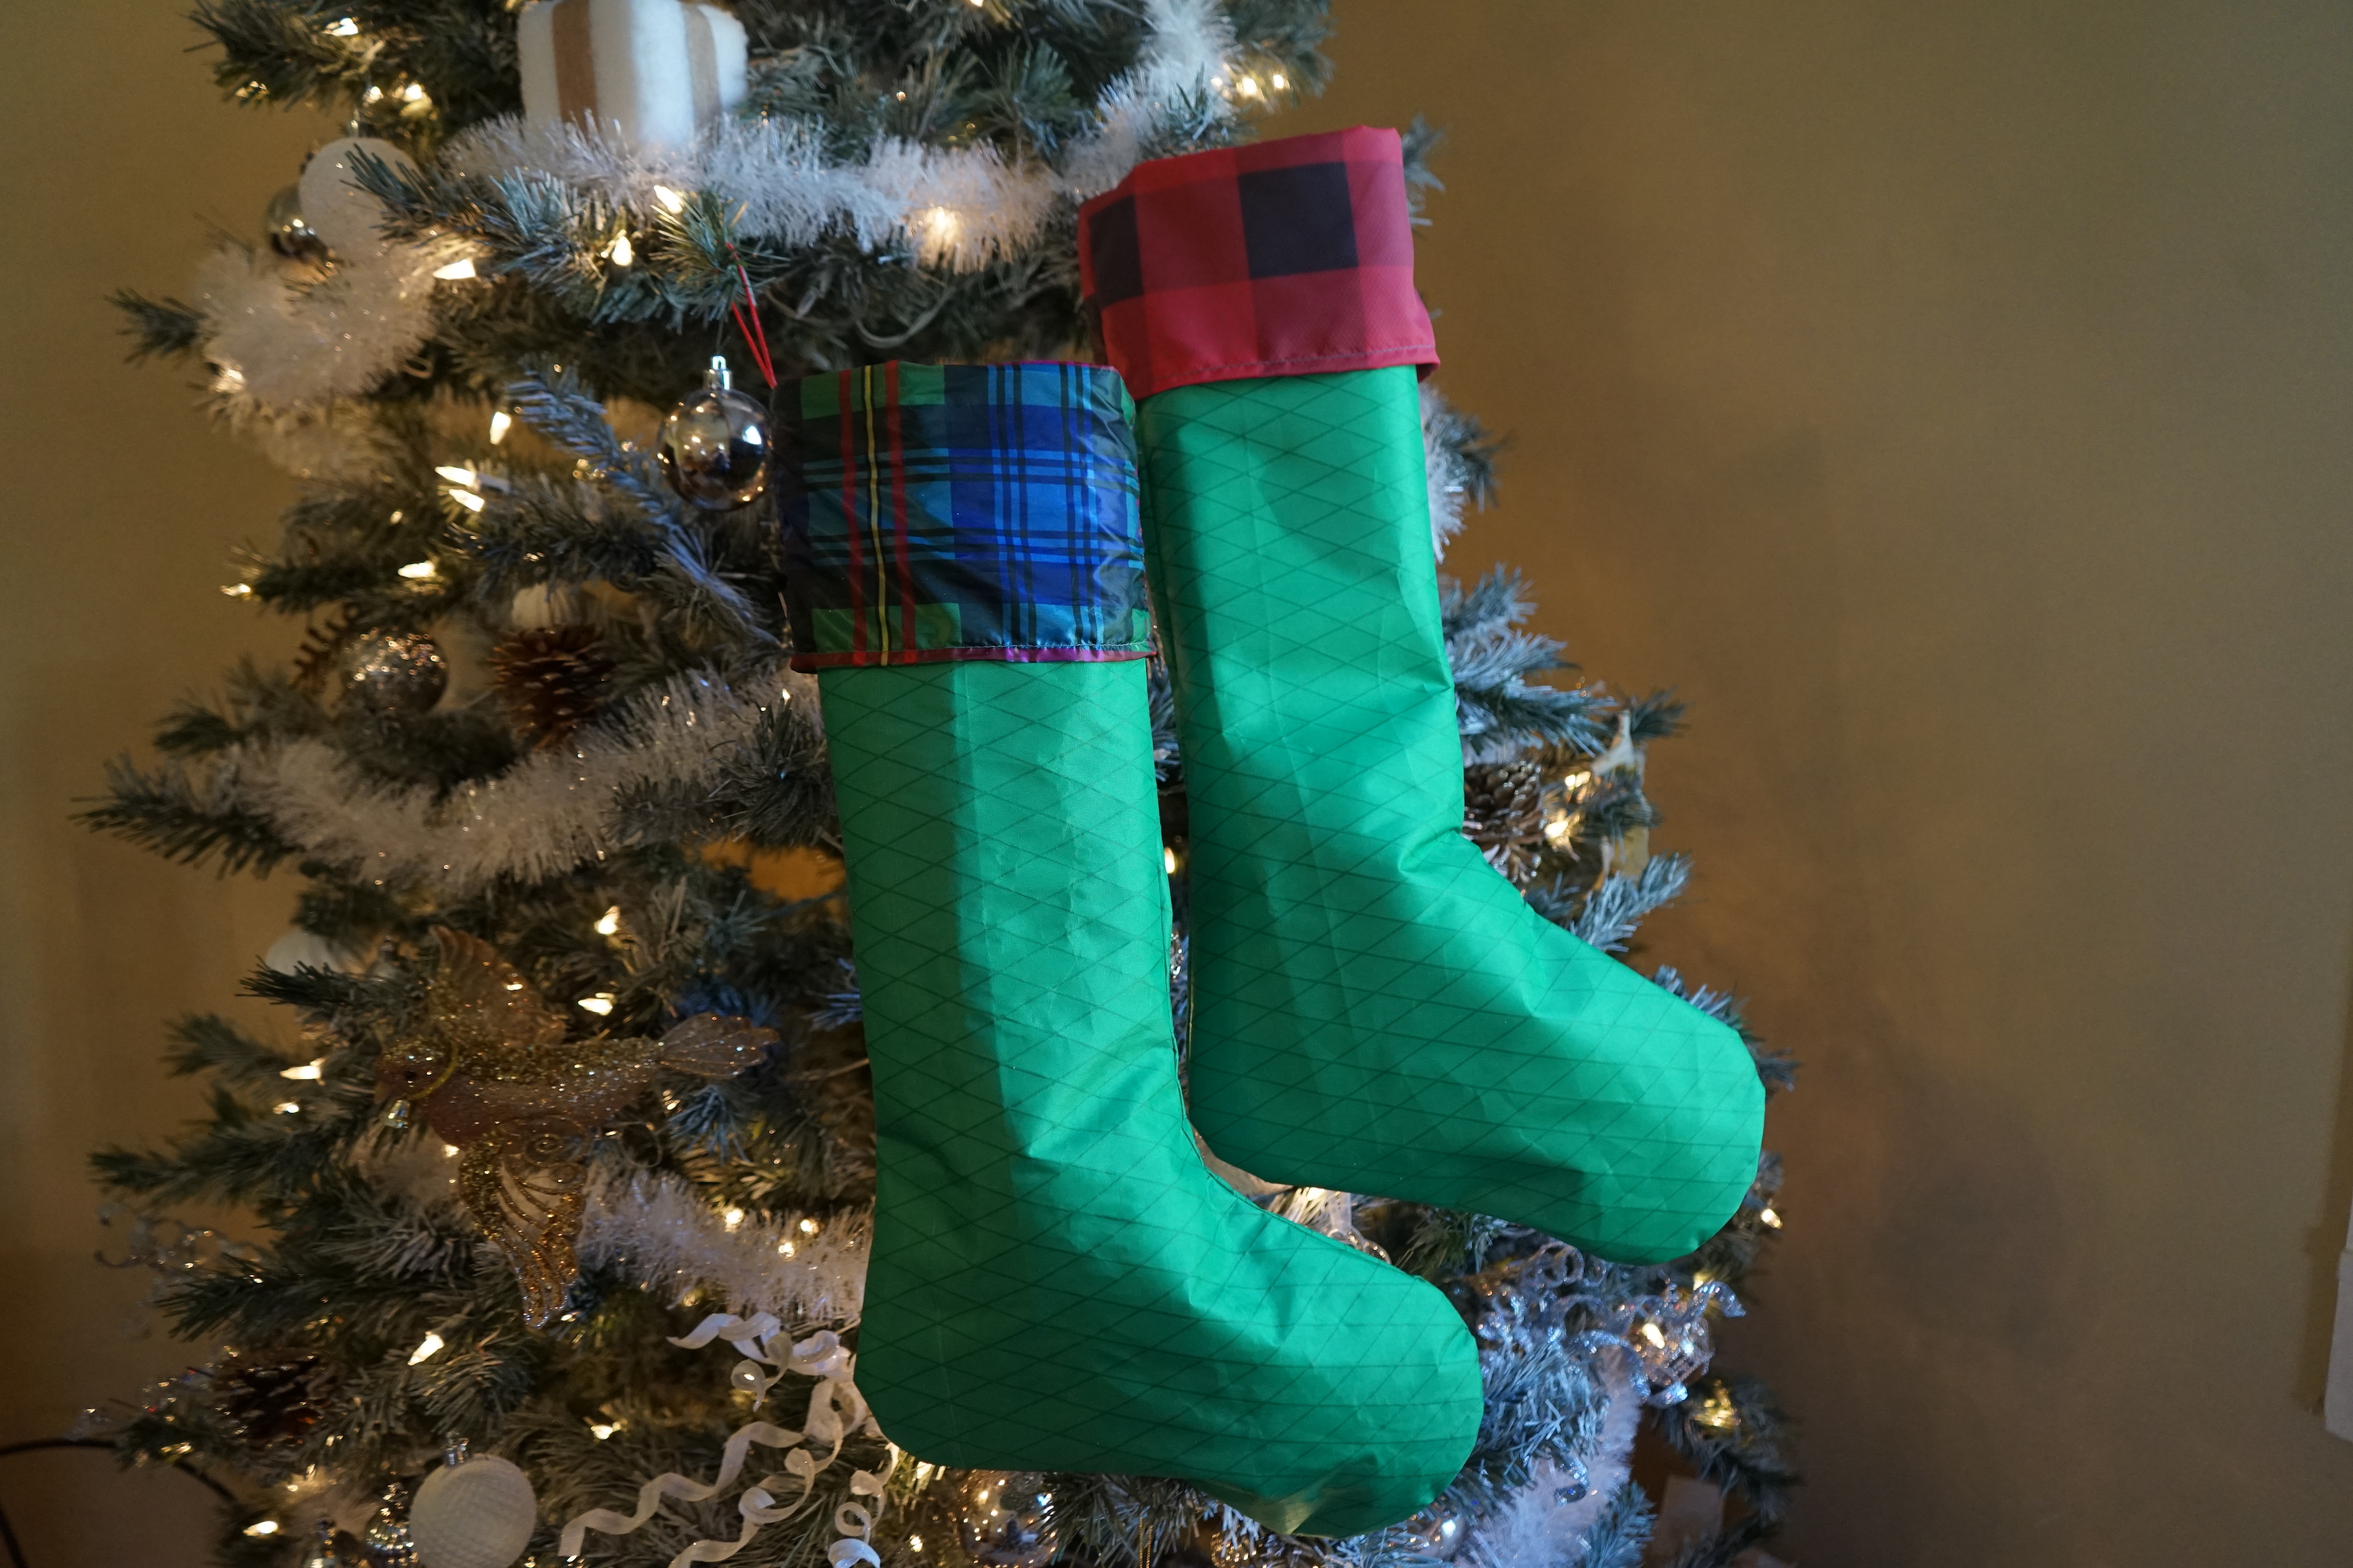
Stockings are one of those things that make the Holidays so special, along with a tree and lights of course. They are hung by the chimney with care and hopefully don't contain sacks of coal but if they did, these stockings made of X-PAC would hold up just fine.
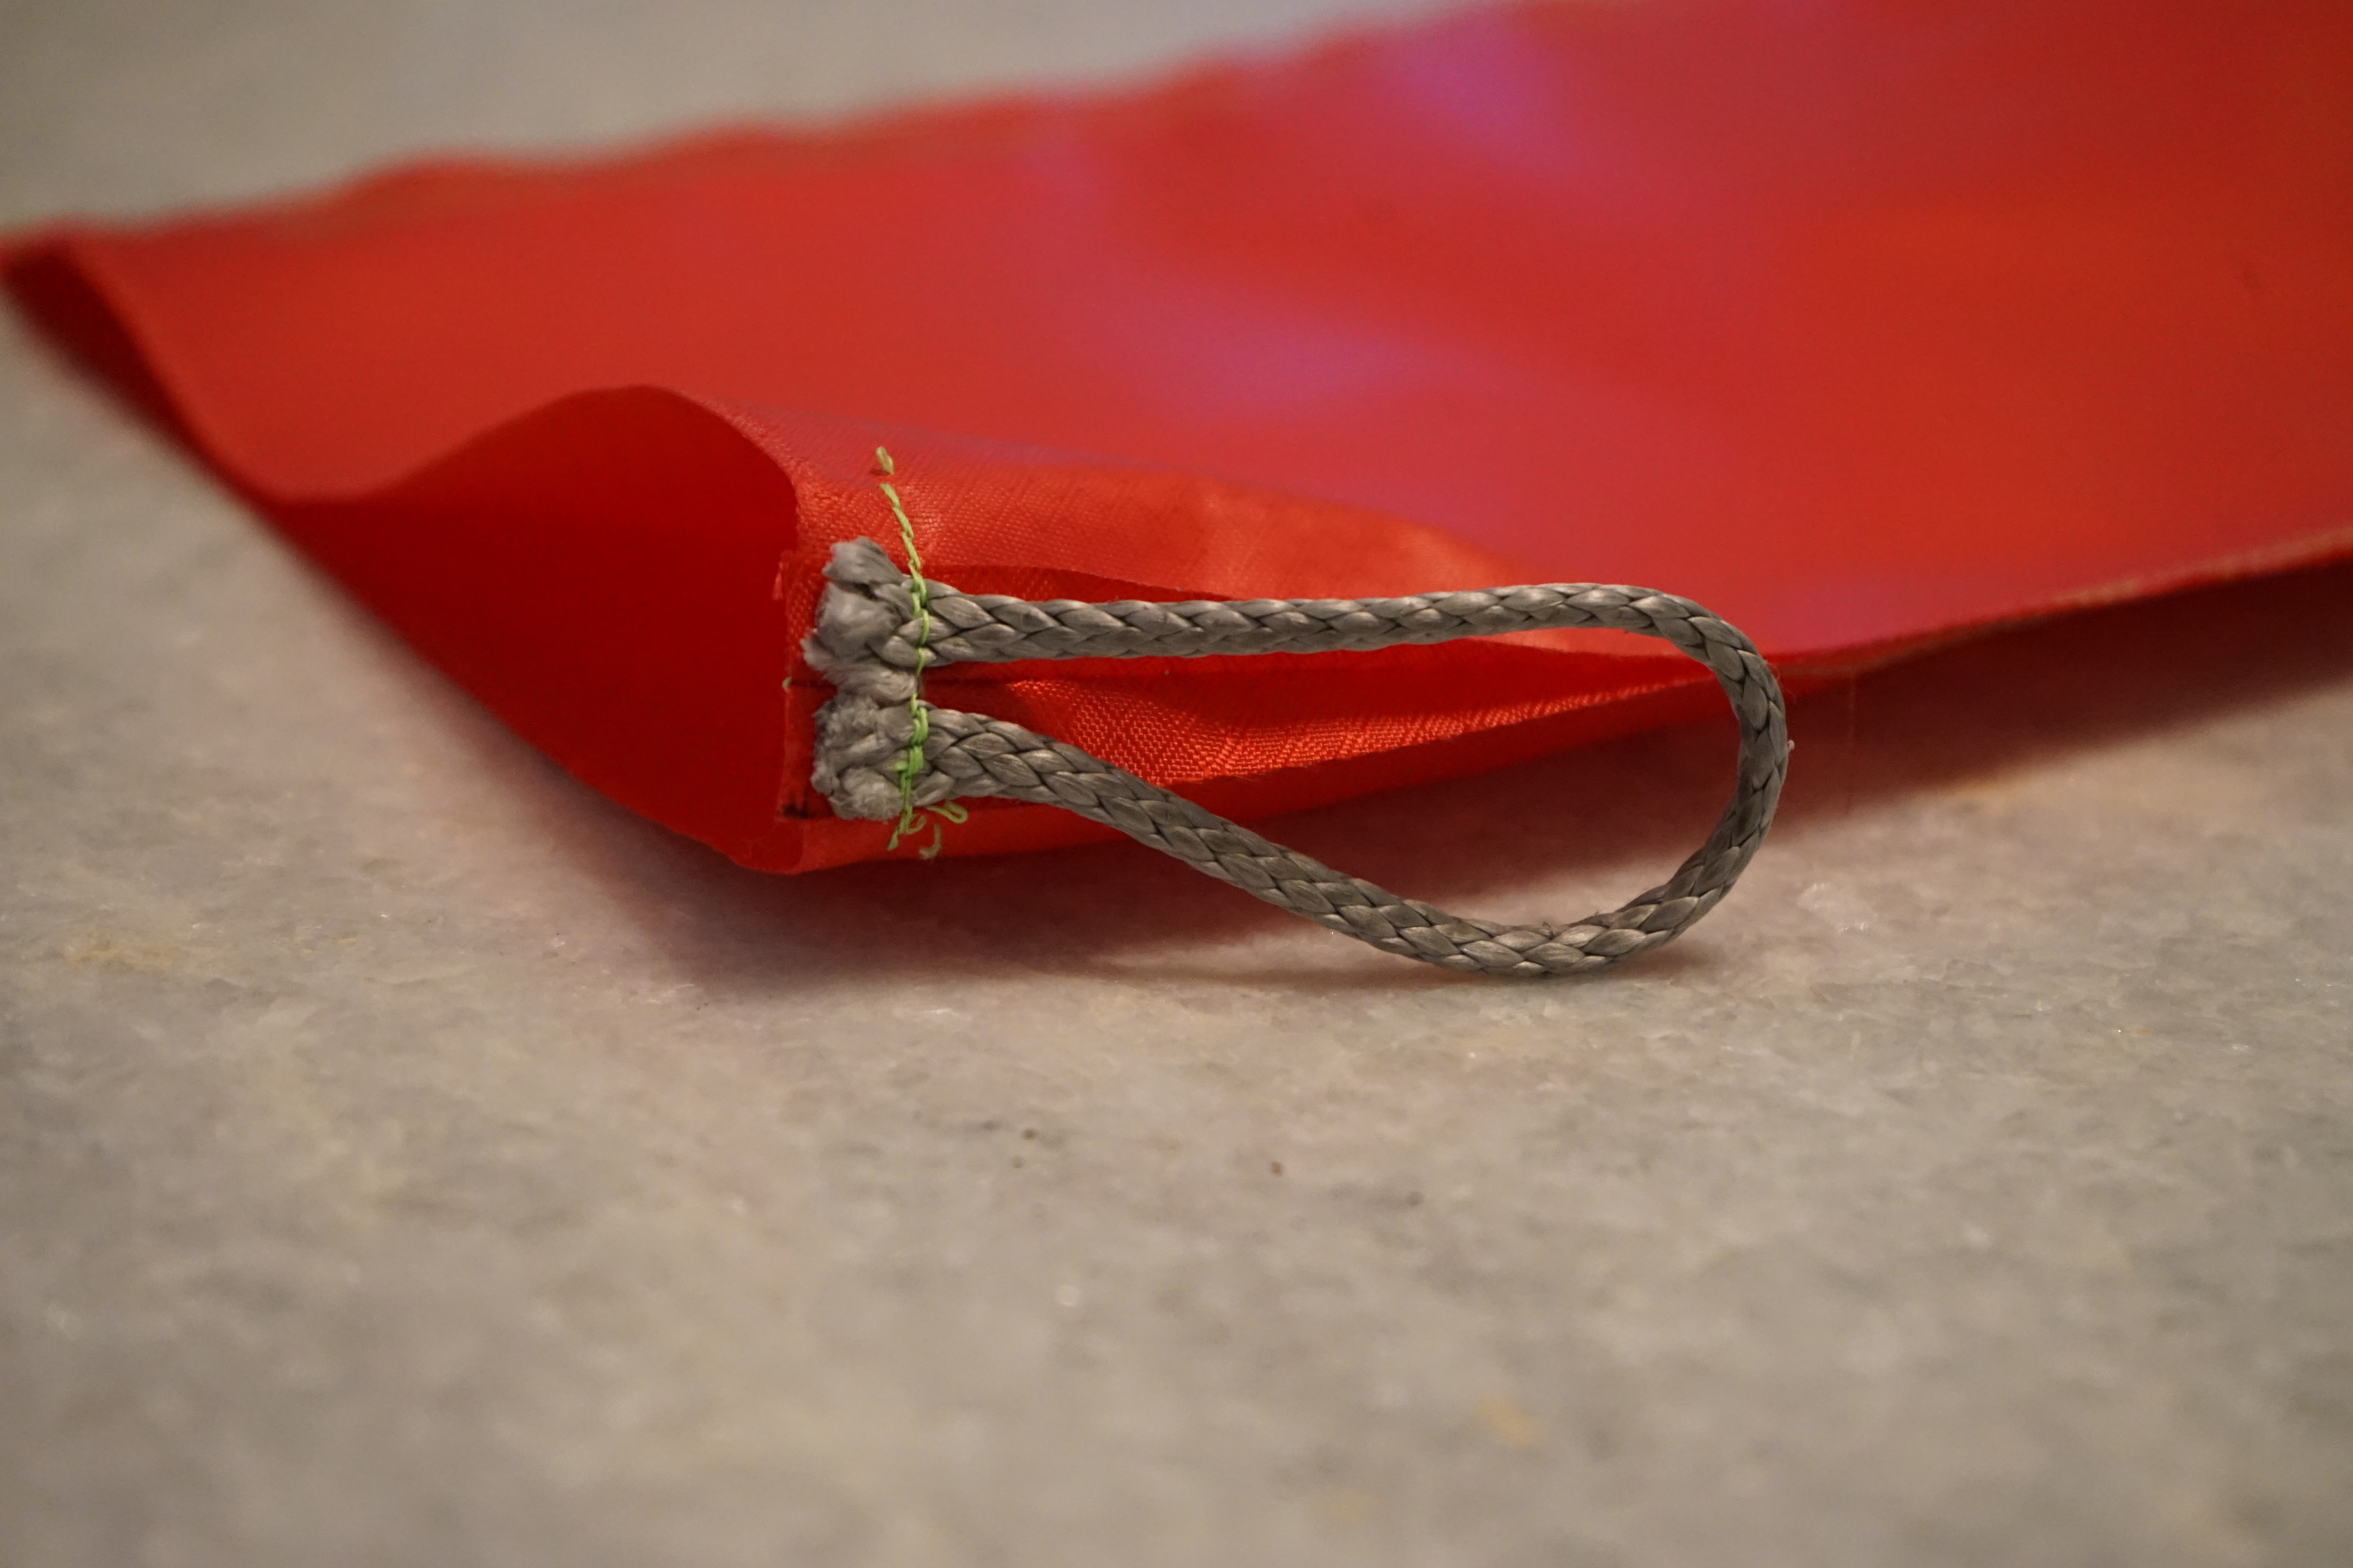
Sew the cordage to the seam in the corner of the stocking, with the loop facing away from the edge of the fabric.
Sew the two pieces for the cuff right sides together.
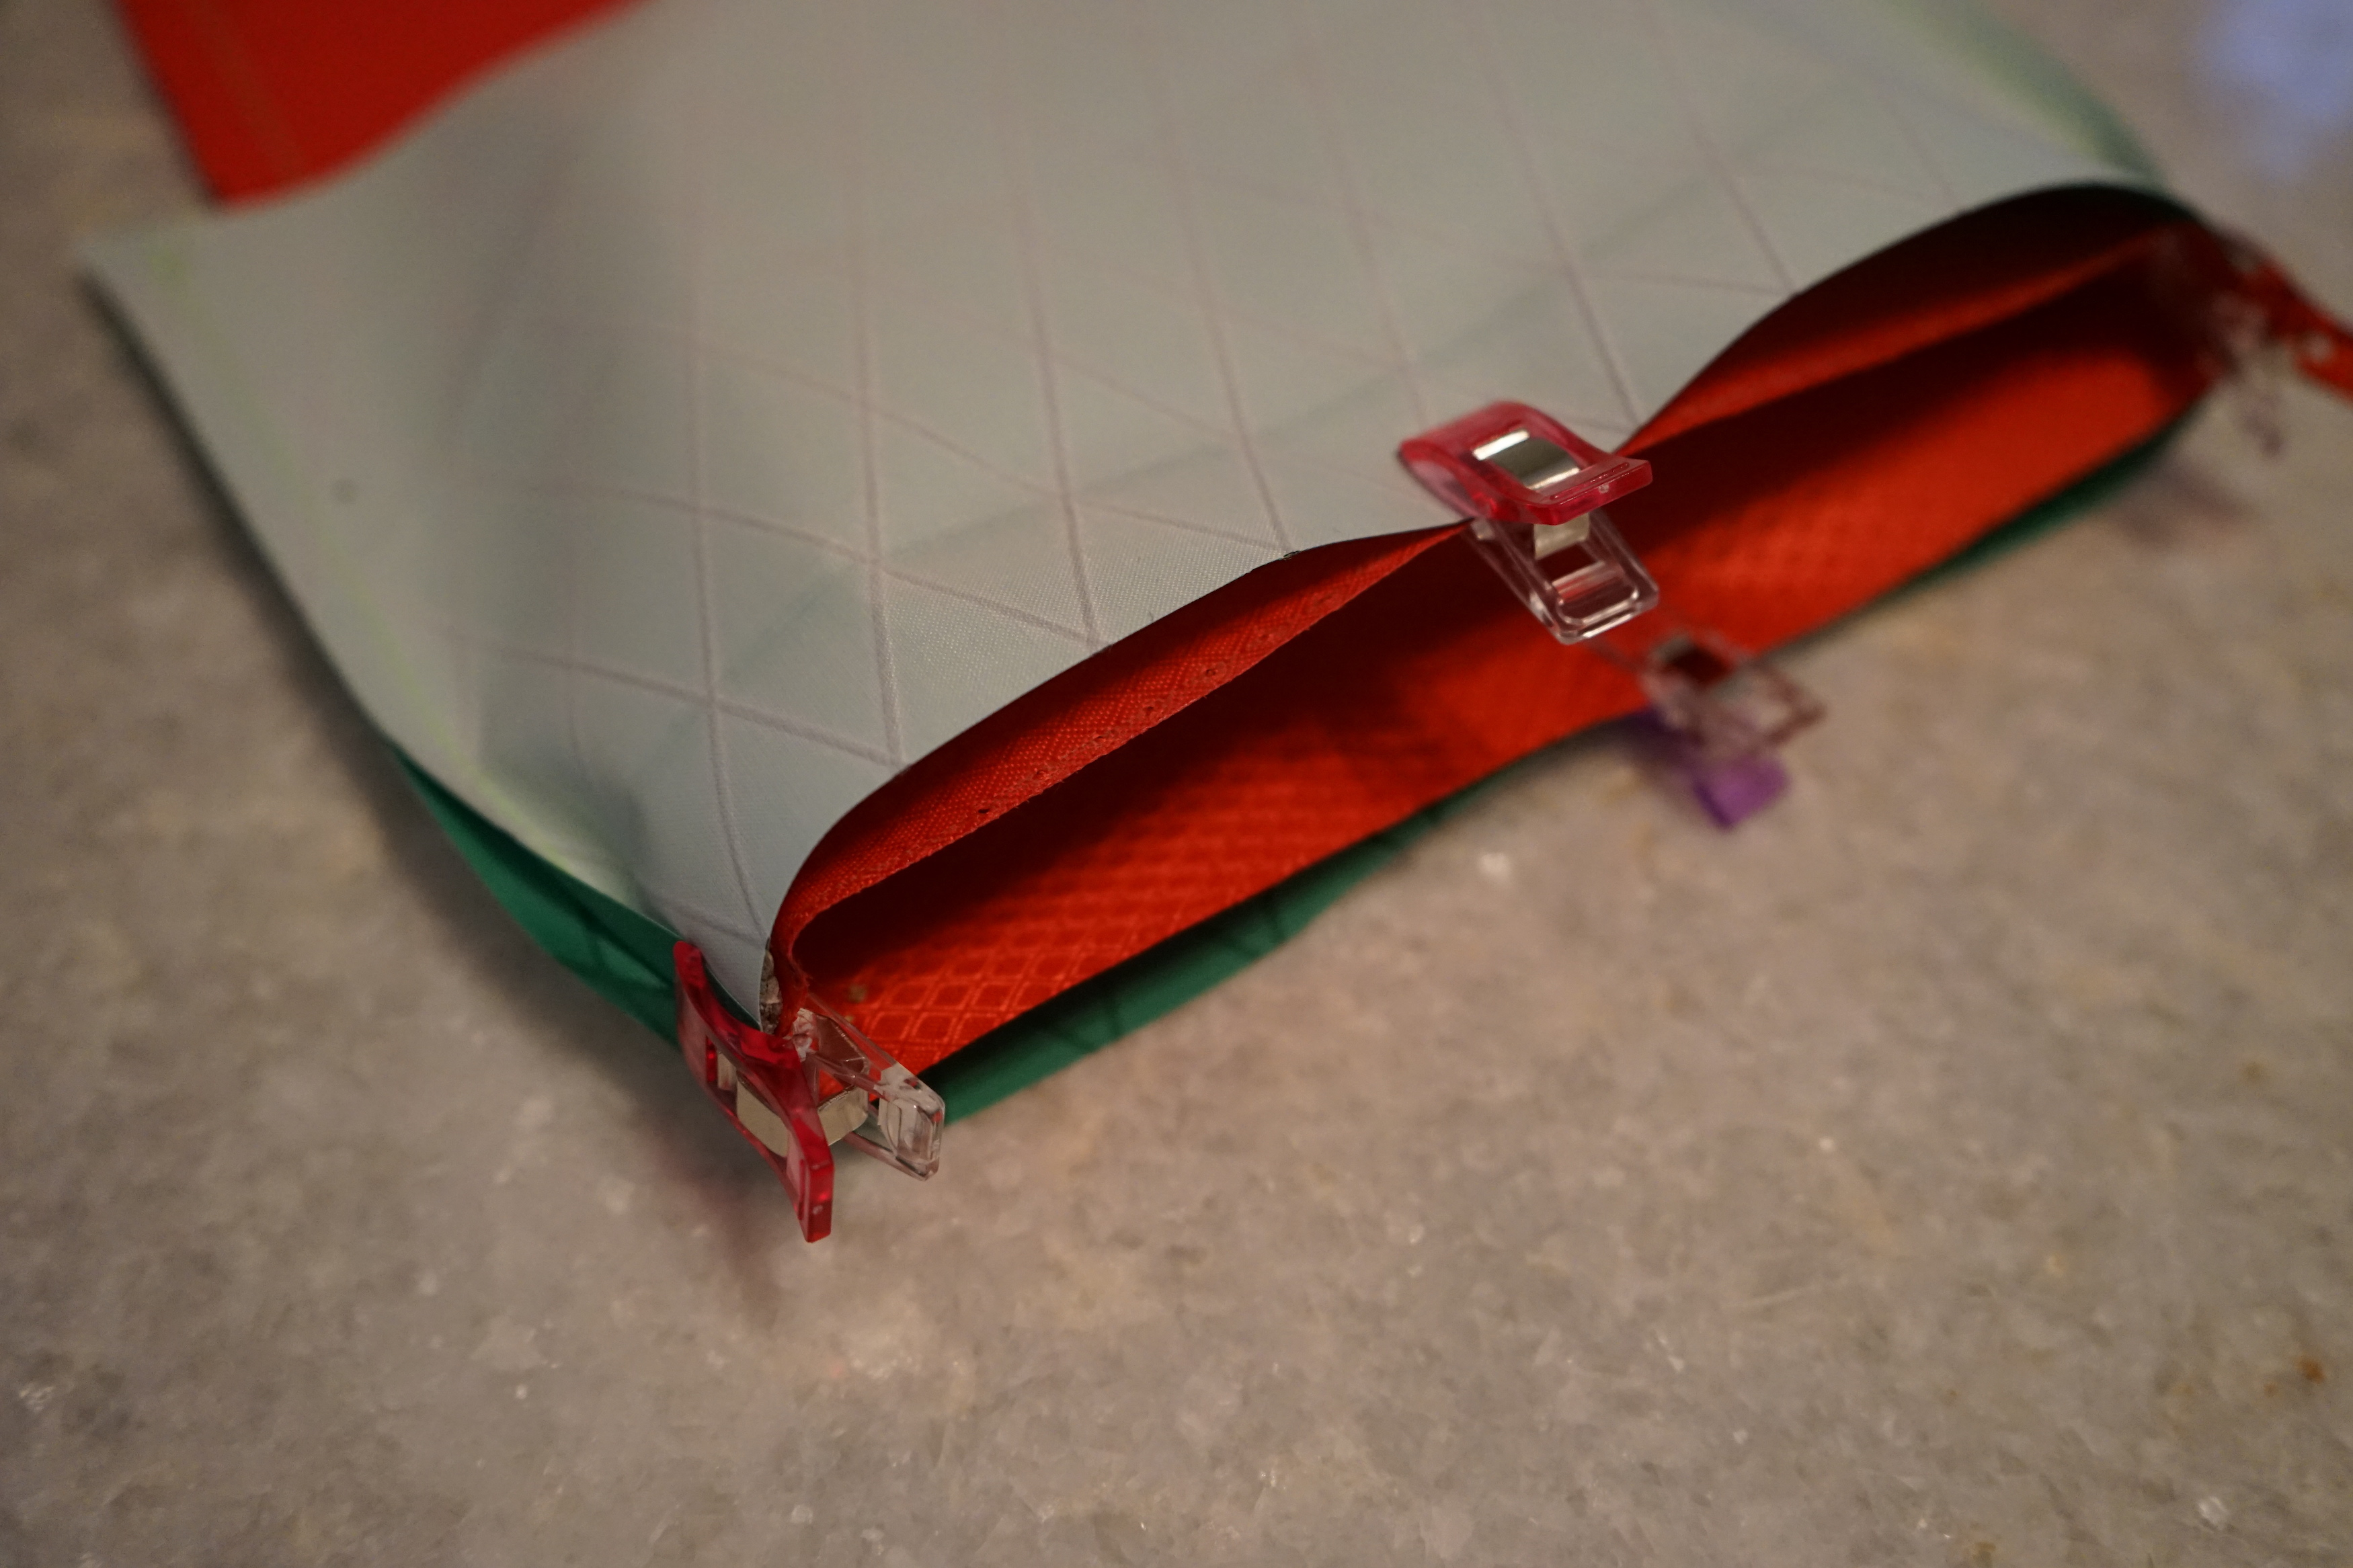
Pin the cuff on the outside of the stocking. Right side of the cuff facing the wrong side of the stocking. Match seams. Stitch. Turn stocking inside out.
Hem the bottom part of the stocking cuff if your fabric frays. You can also add a top stitch to the cuff if you'd like the fabric to lay flatter.
Hang on the mantle!
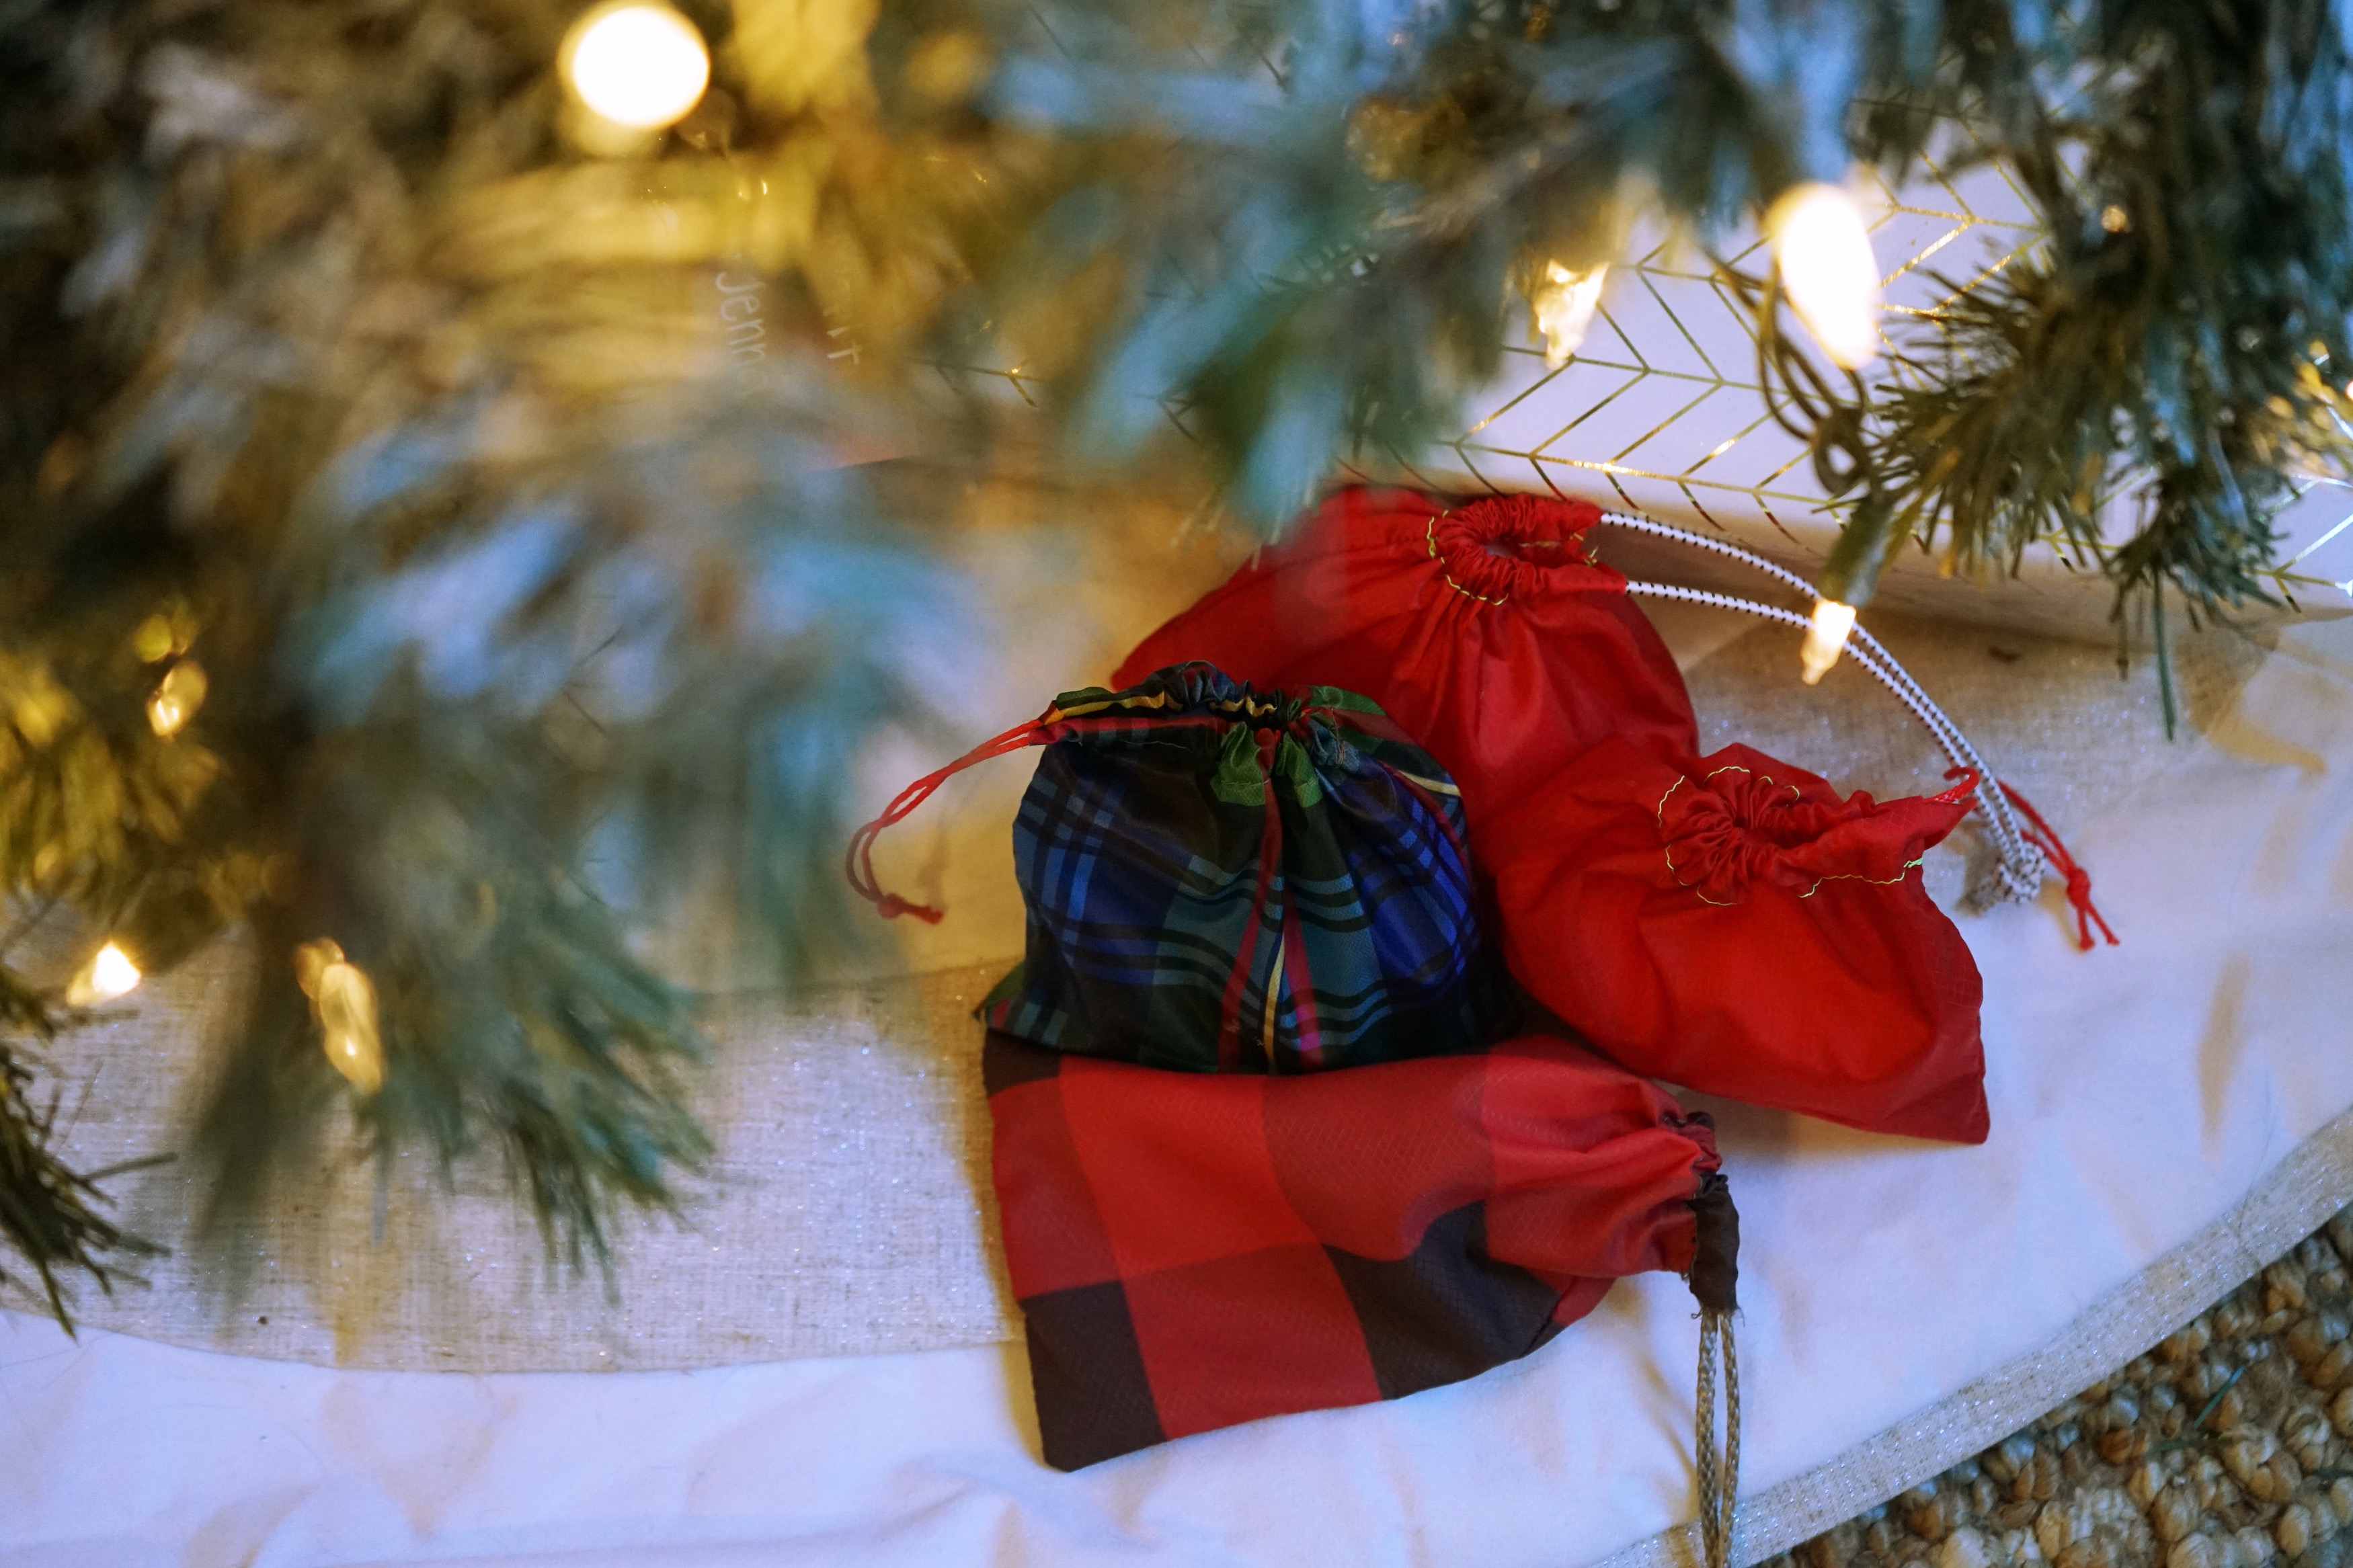
2. DIY Gift Bags
Buying gift bags that end up in landfills seems silly, wasteful, and expensive.
With some scraps, making a drawstring bag is an easy way to be more sustainable and shows more thought and flair with your gift giving.
Gift Card Holder? Check.
Sunglass Holder? Check.
Random Gift Bag? Check!
What you need:
Any size scrap fabric
Cordage or elastic
Instructions:
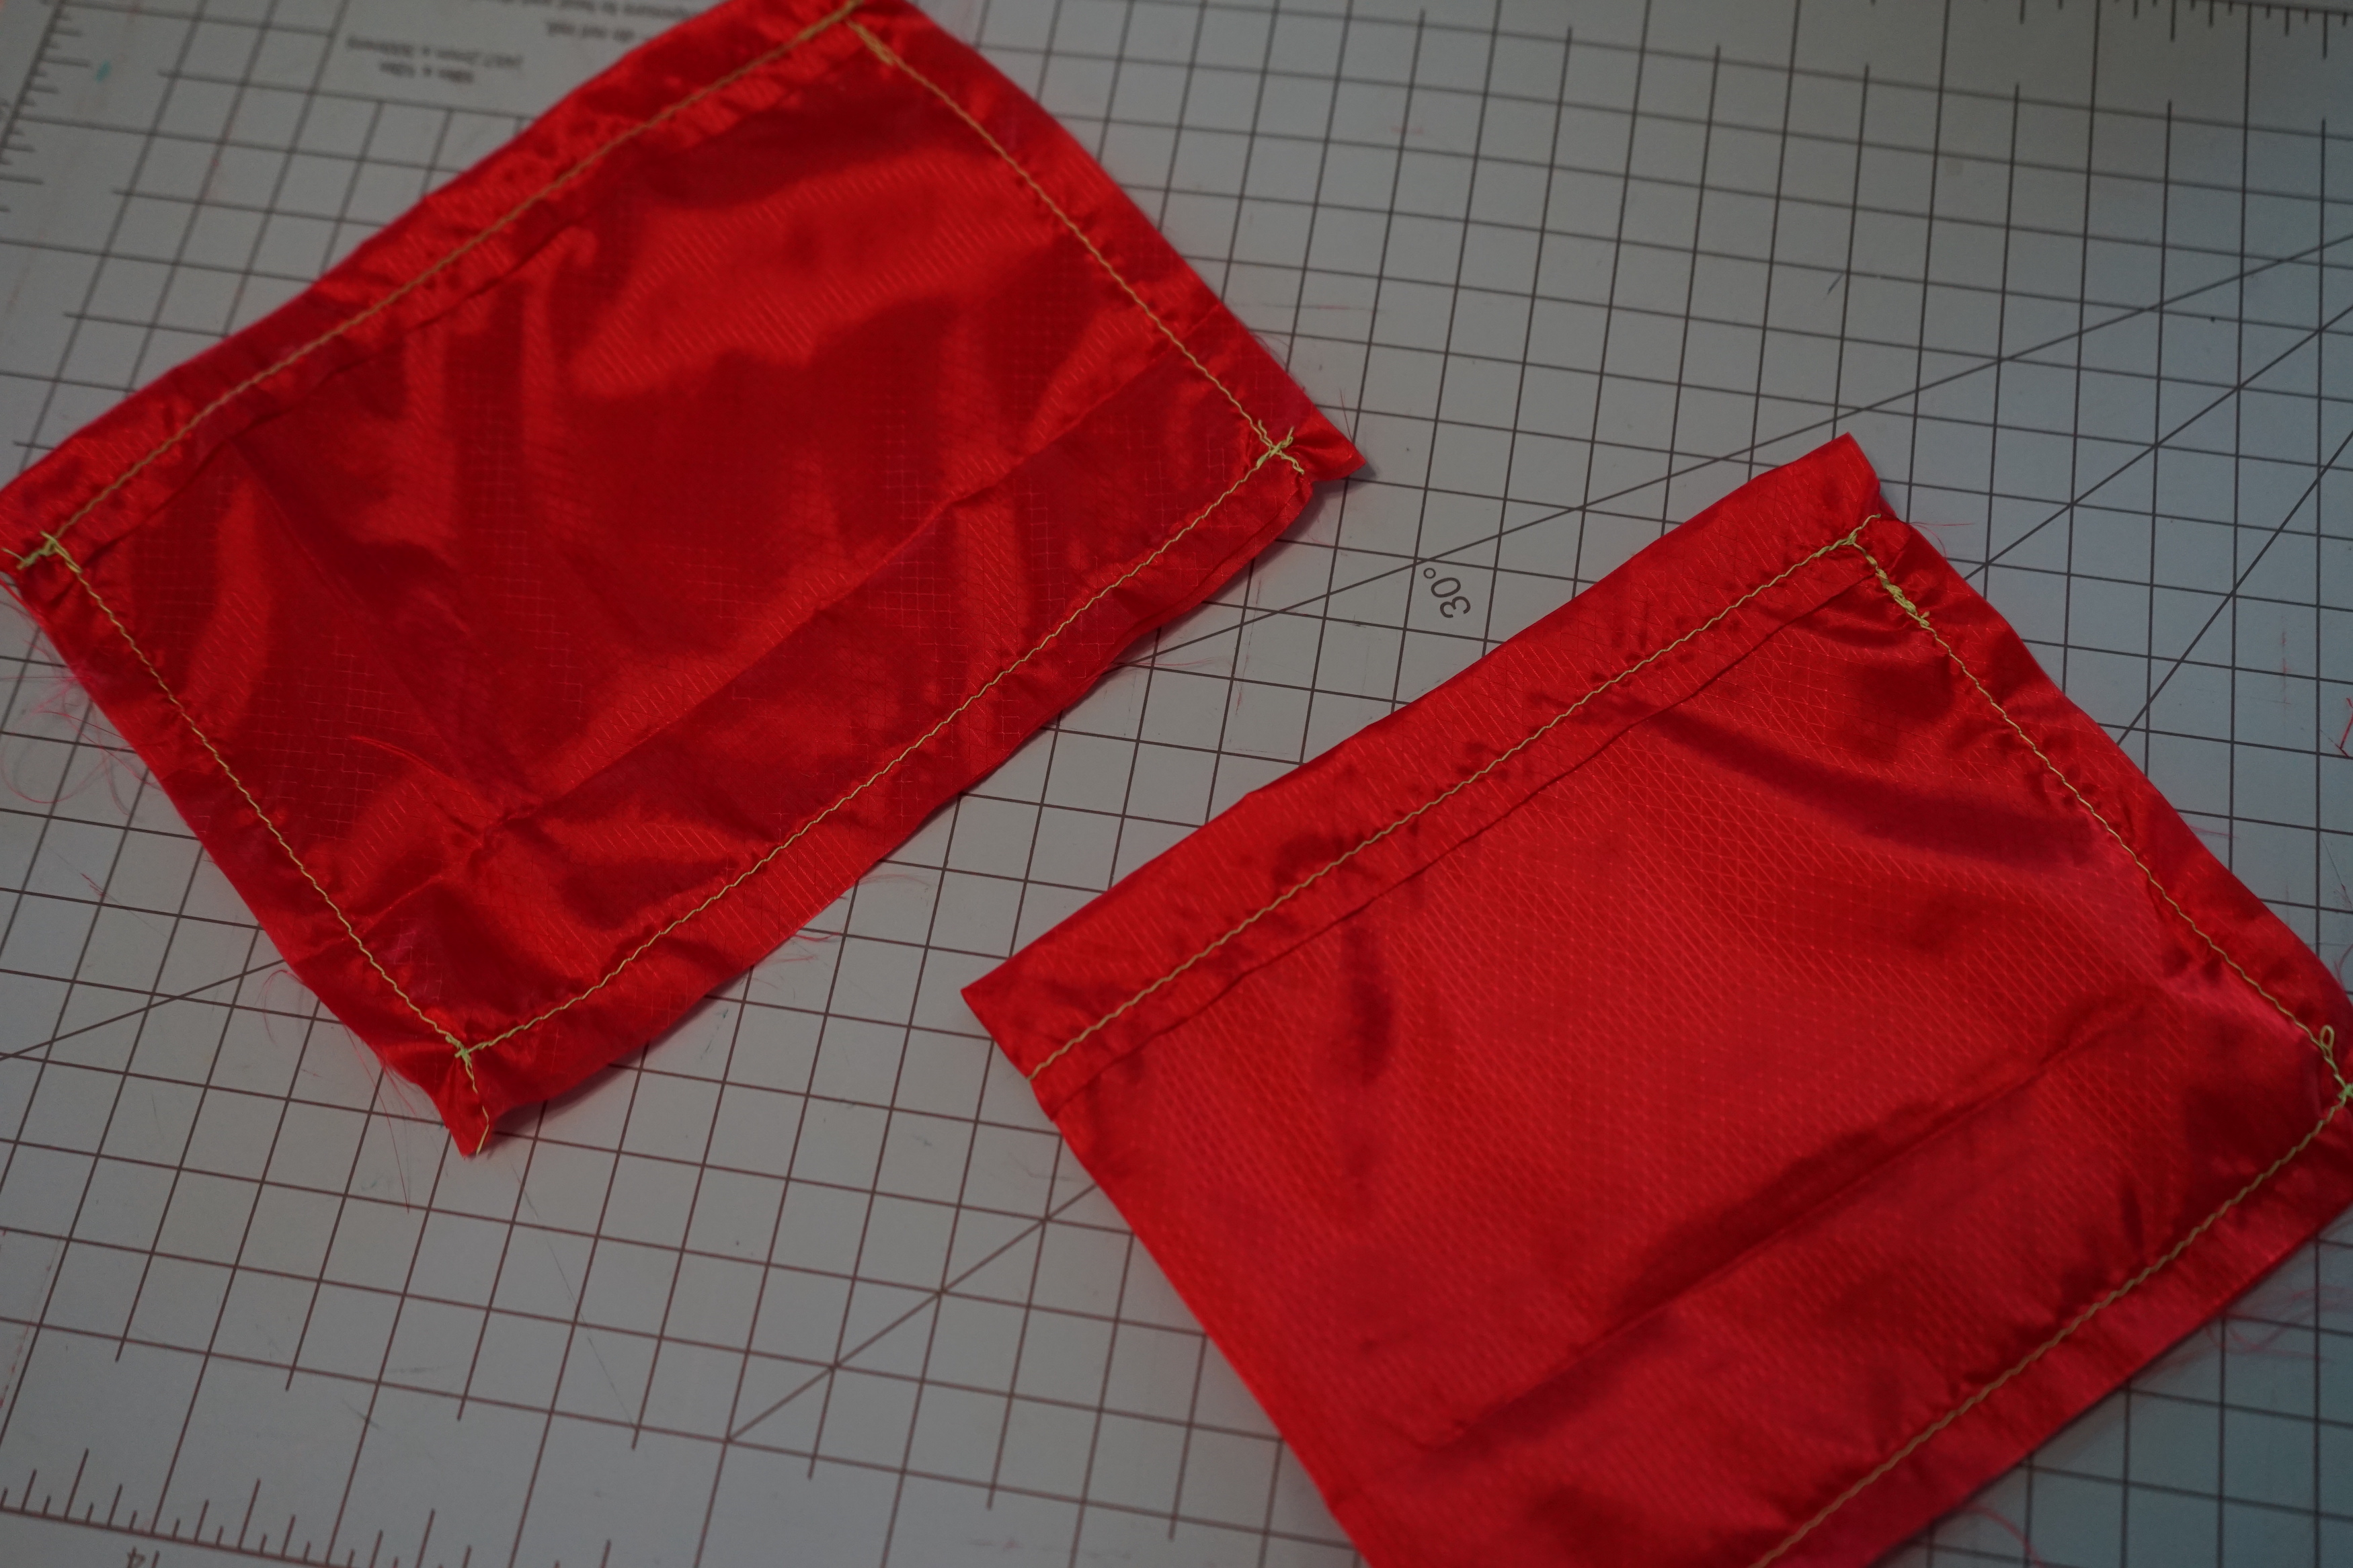
Cut out fabric to your desired shape and size. You can cut out two matching pieces (i.e. 2- 6"x6" squares) or take one larger piece and fold it to your desired size. (12"x12" folds in half to 6"x6"). The only difference is having to sew down one side of the fabric versus sewing down both sides.
At the top of the fabric, fold and hem according to the width of your cordage for the drawstring.
Sew the right sides together. Across the bottom and down the side(s). Make sure to not sew closed the opening for your drawstring.
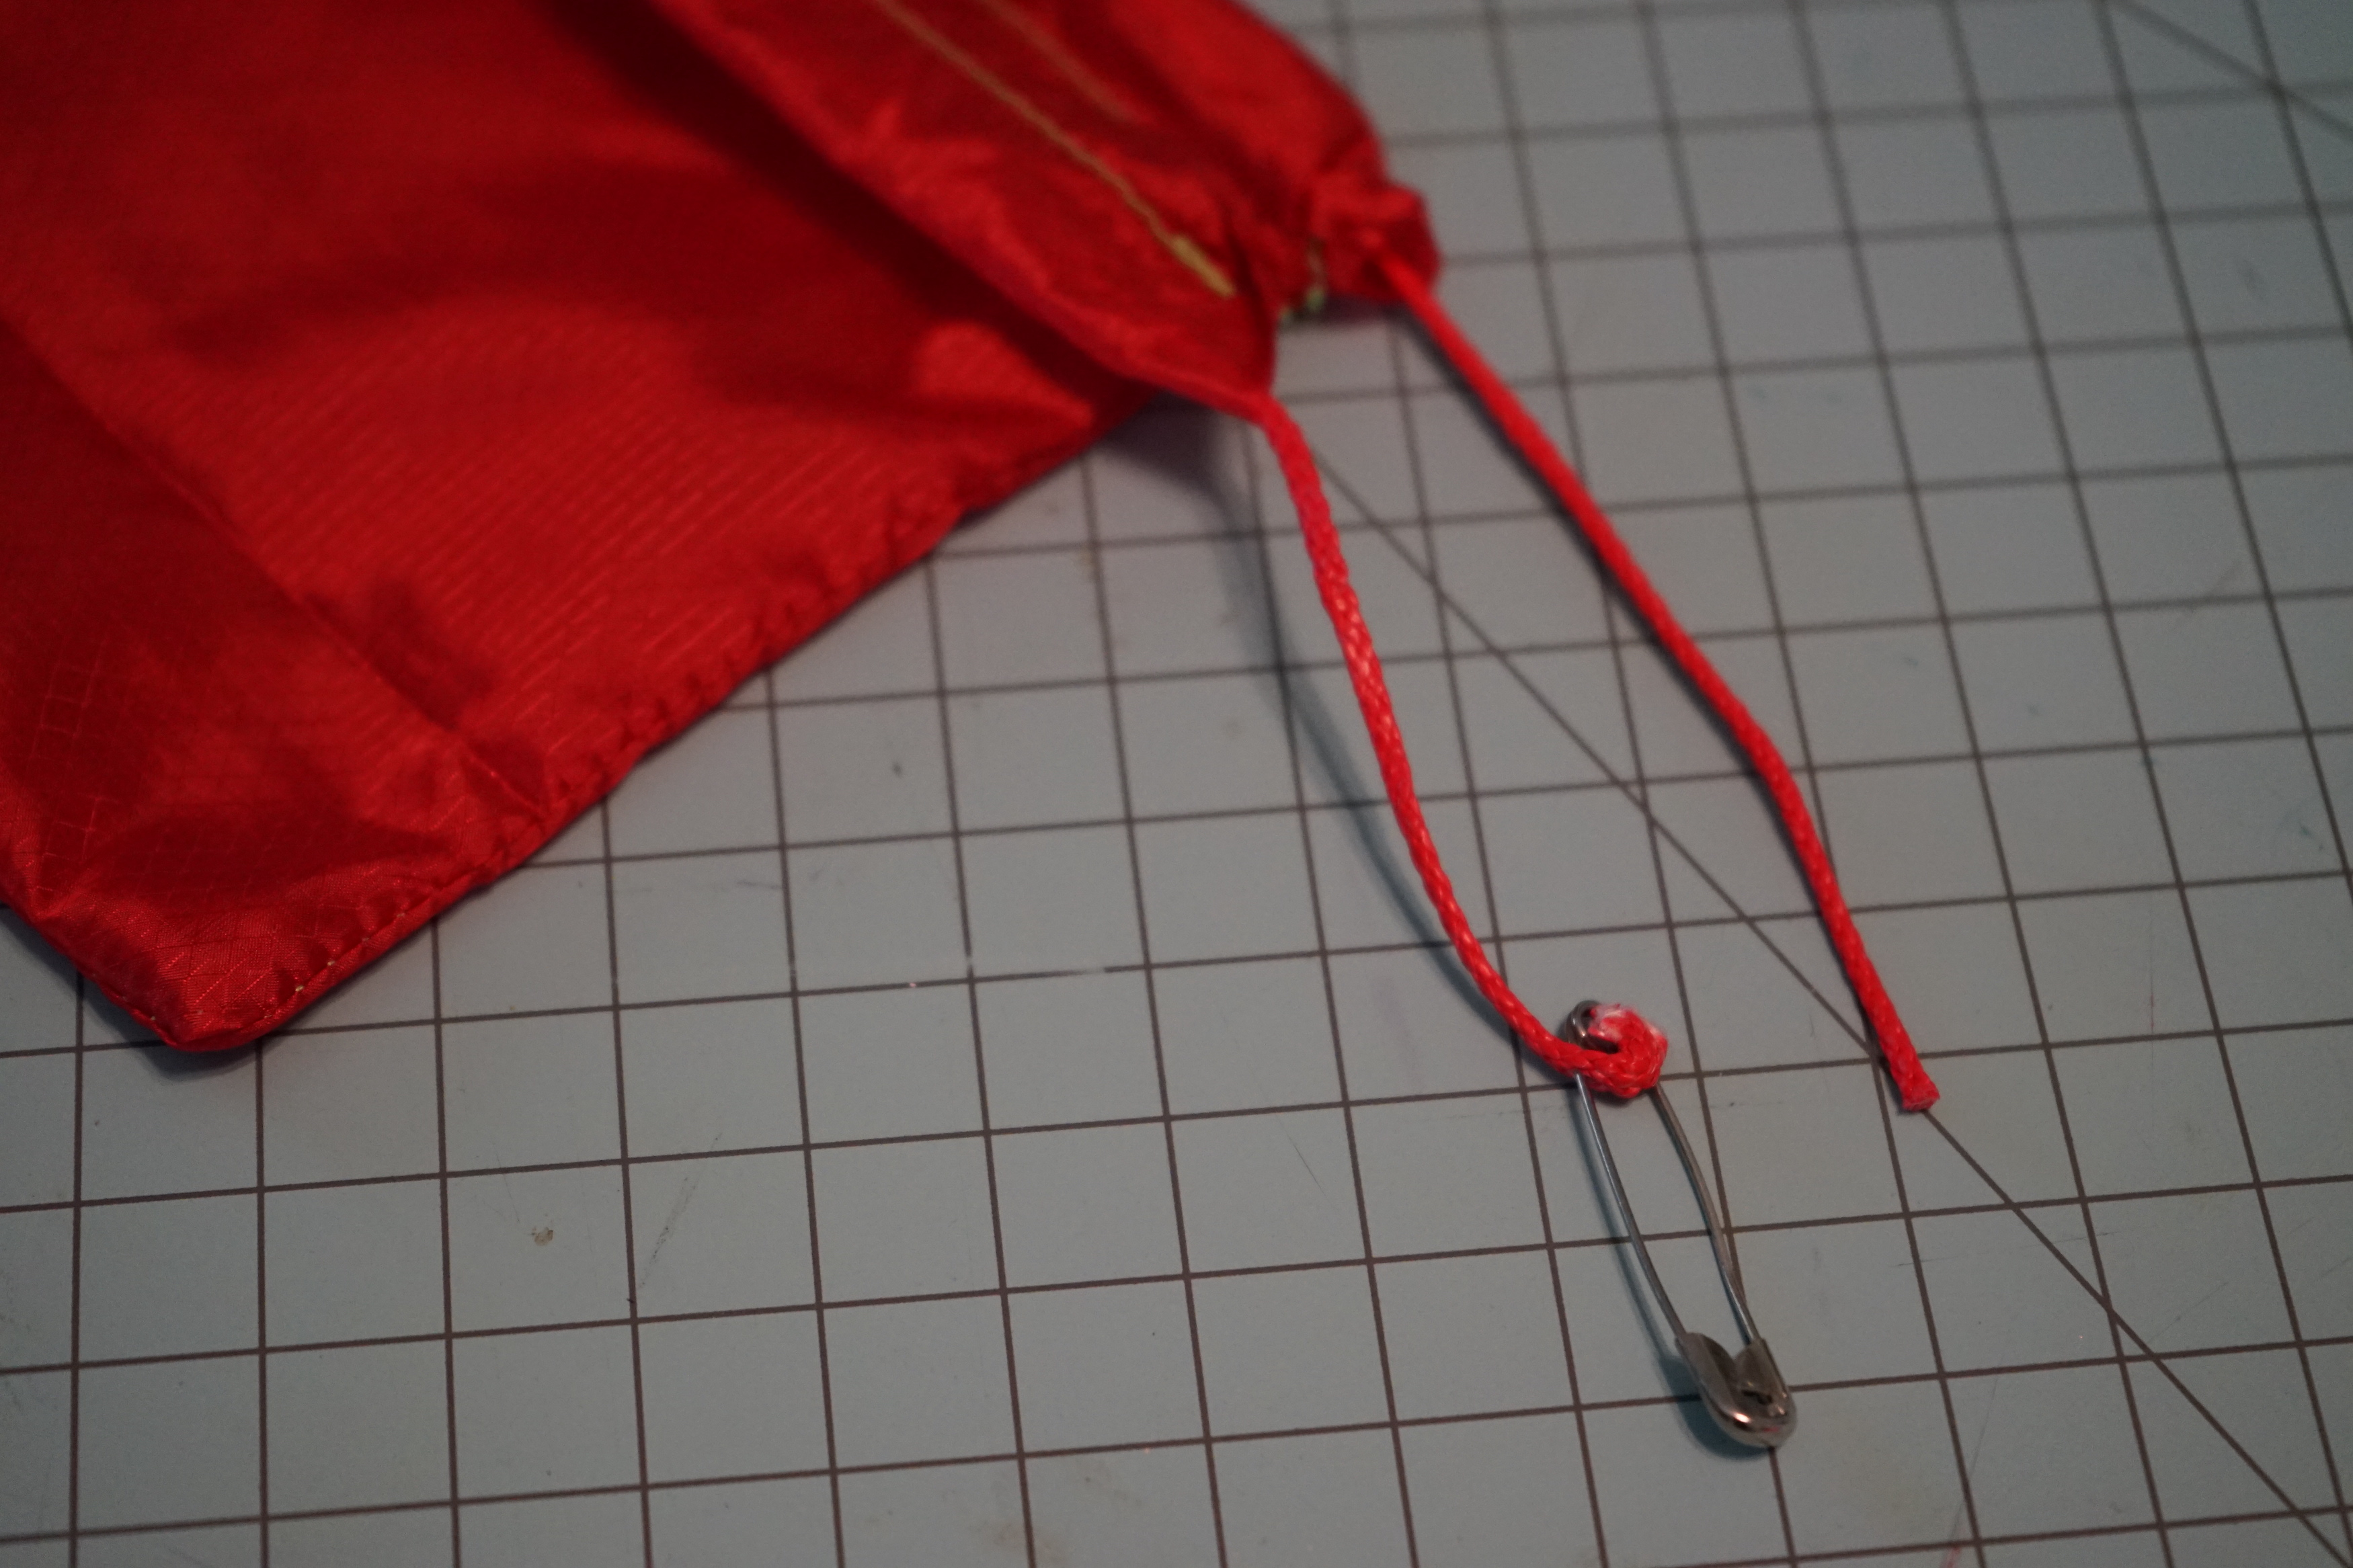
Take a safety pin and thread the cordage through the top opening. Tie the ends together. Your cordage should be 3x the size of the opening of the bag. (Our bag opening was 6" wide, so we cut 18" of cordage)
Take a safety pin and thread the cordage through the top opening. Tie the ends together. Your cordage should be 3x the size of the opening of the bag. (Our bag opening was 6" wide, so we cut 18" of cordage)
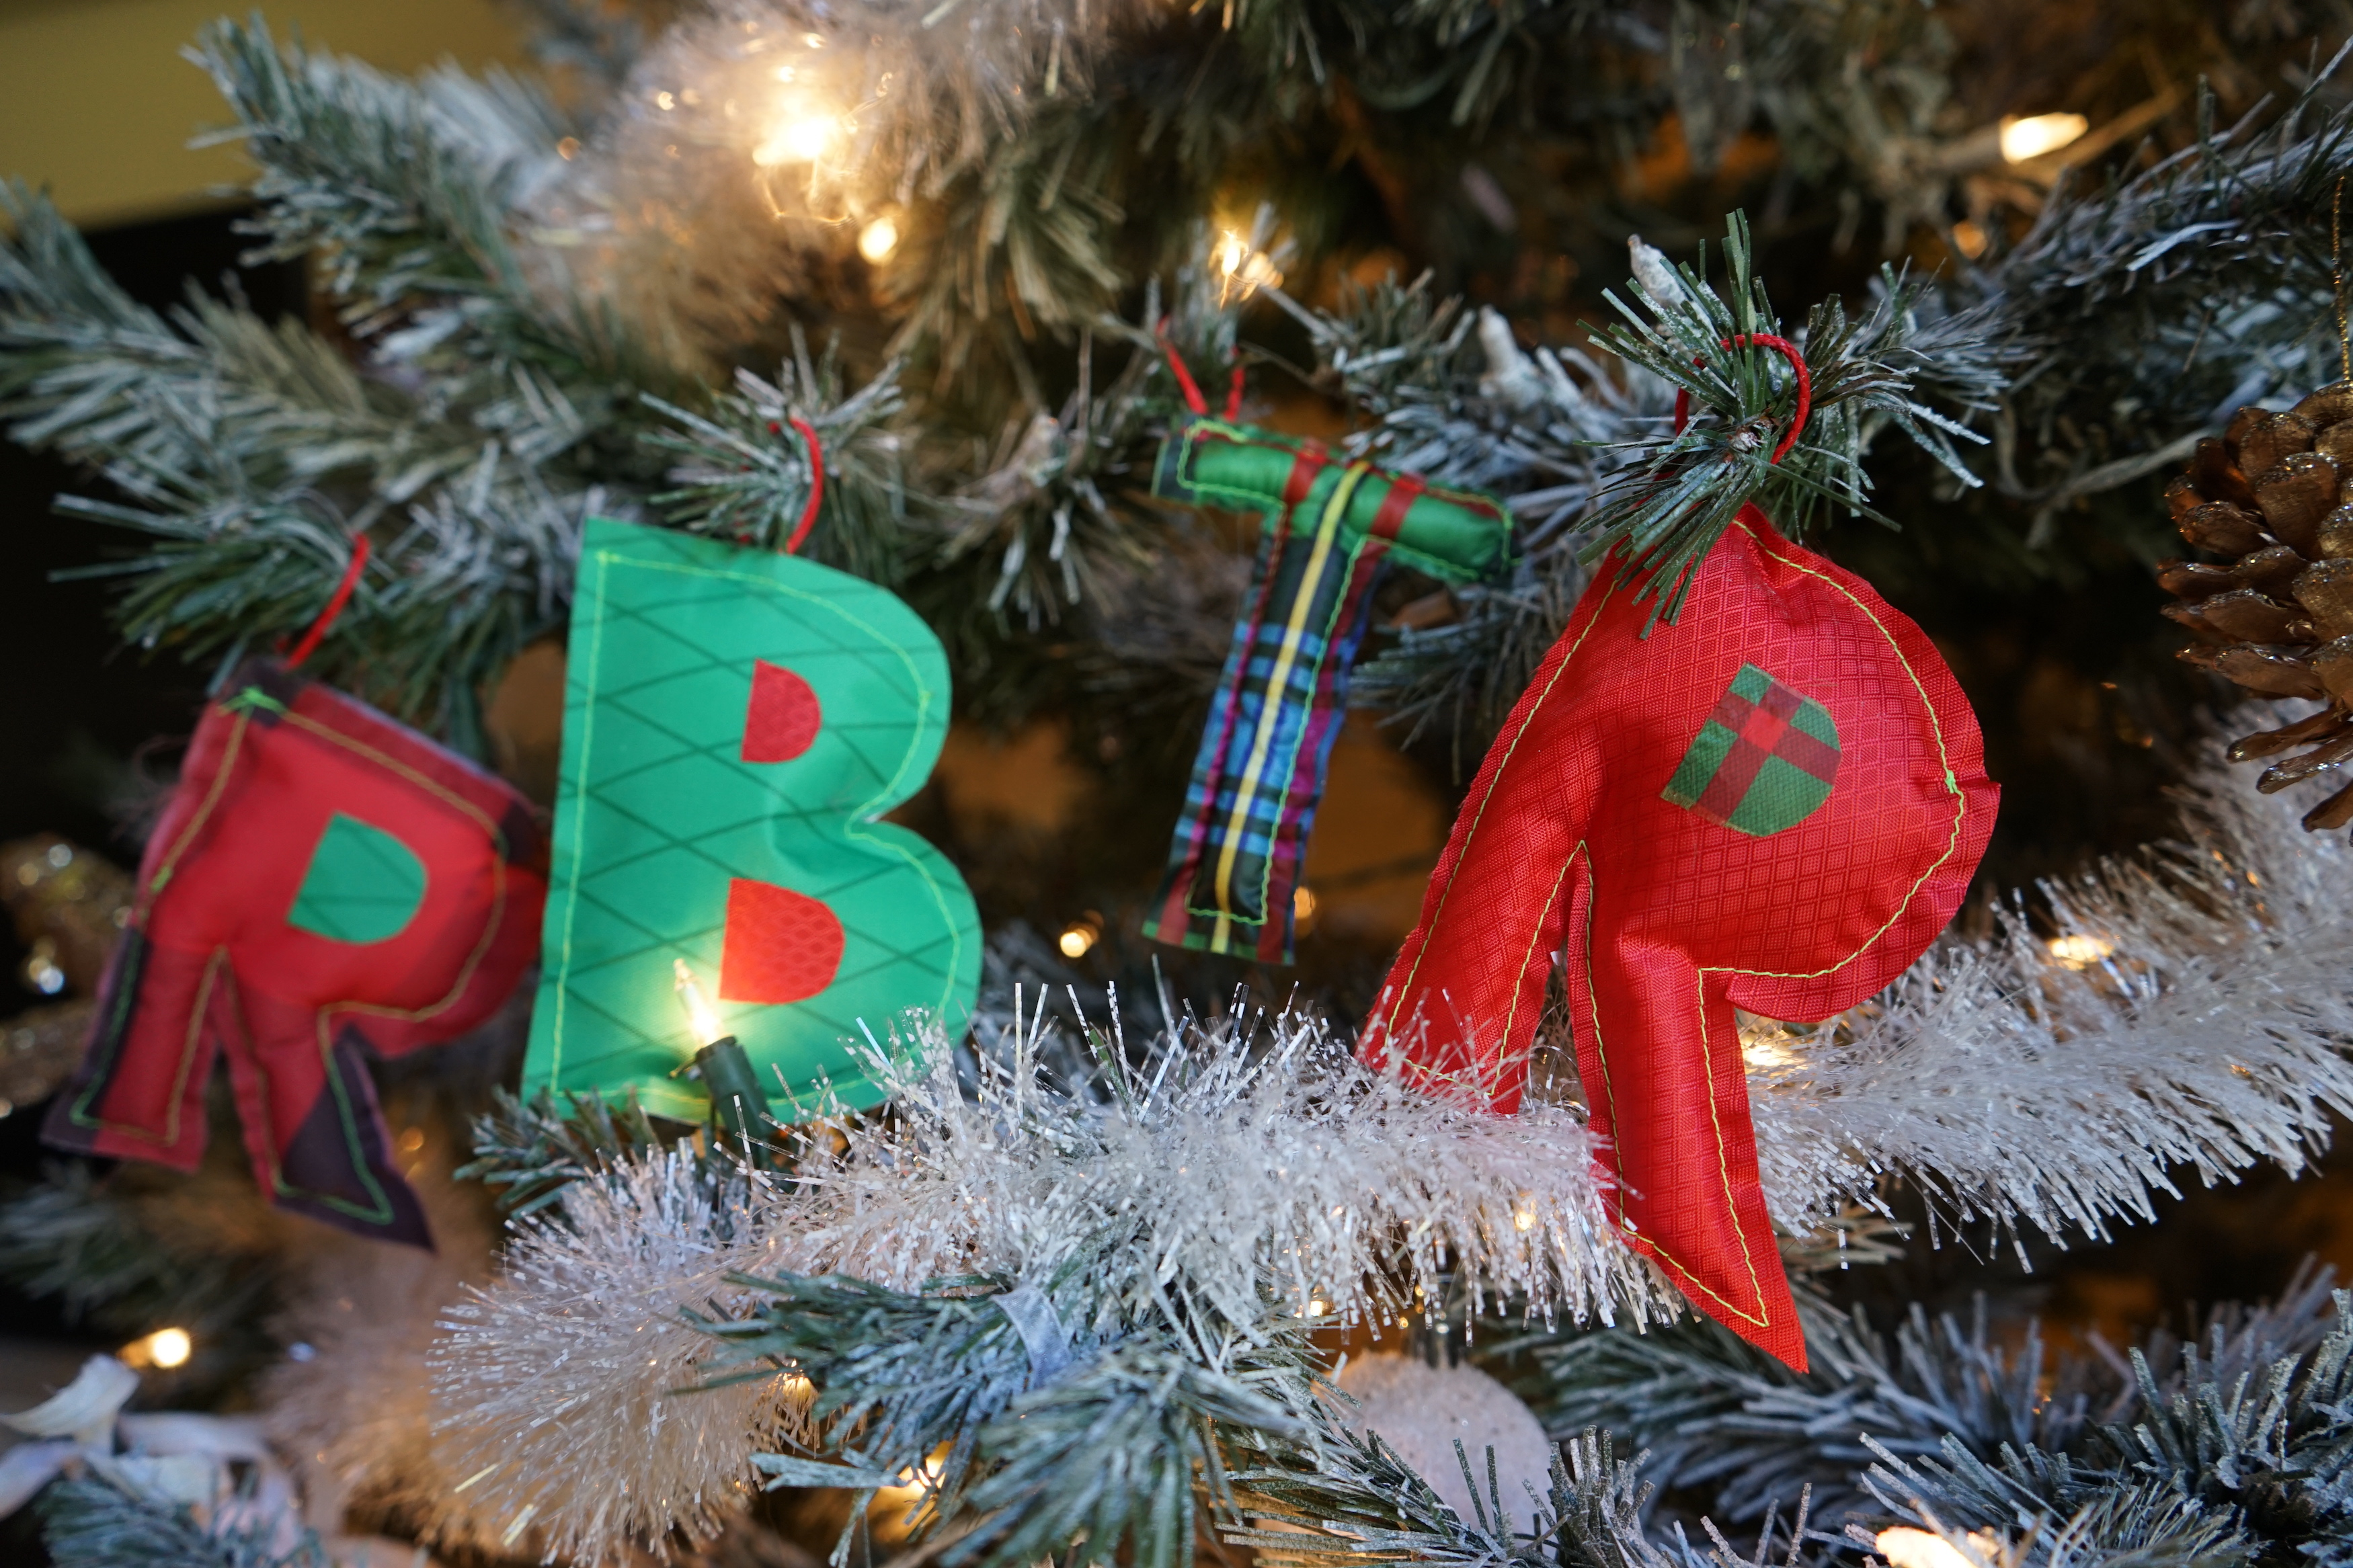
3. DIY Initial Ornament
Add some tree flair with these totally customized initial ornaments! They make a great gift for yourself or if you are going to an ornament exchange.
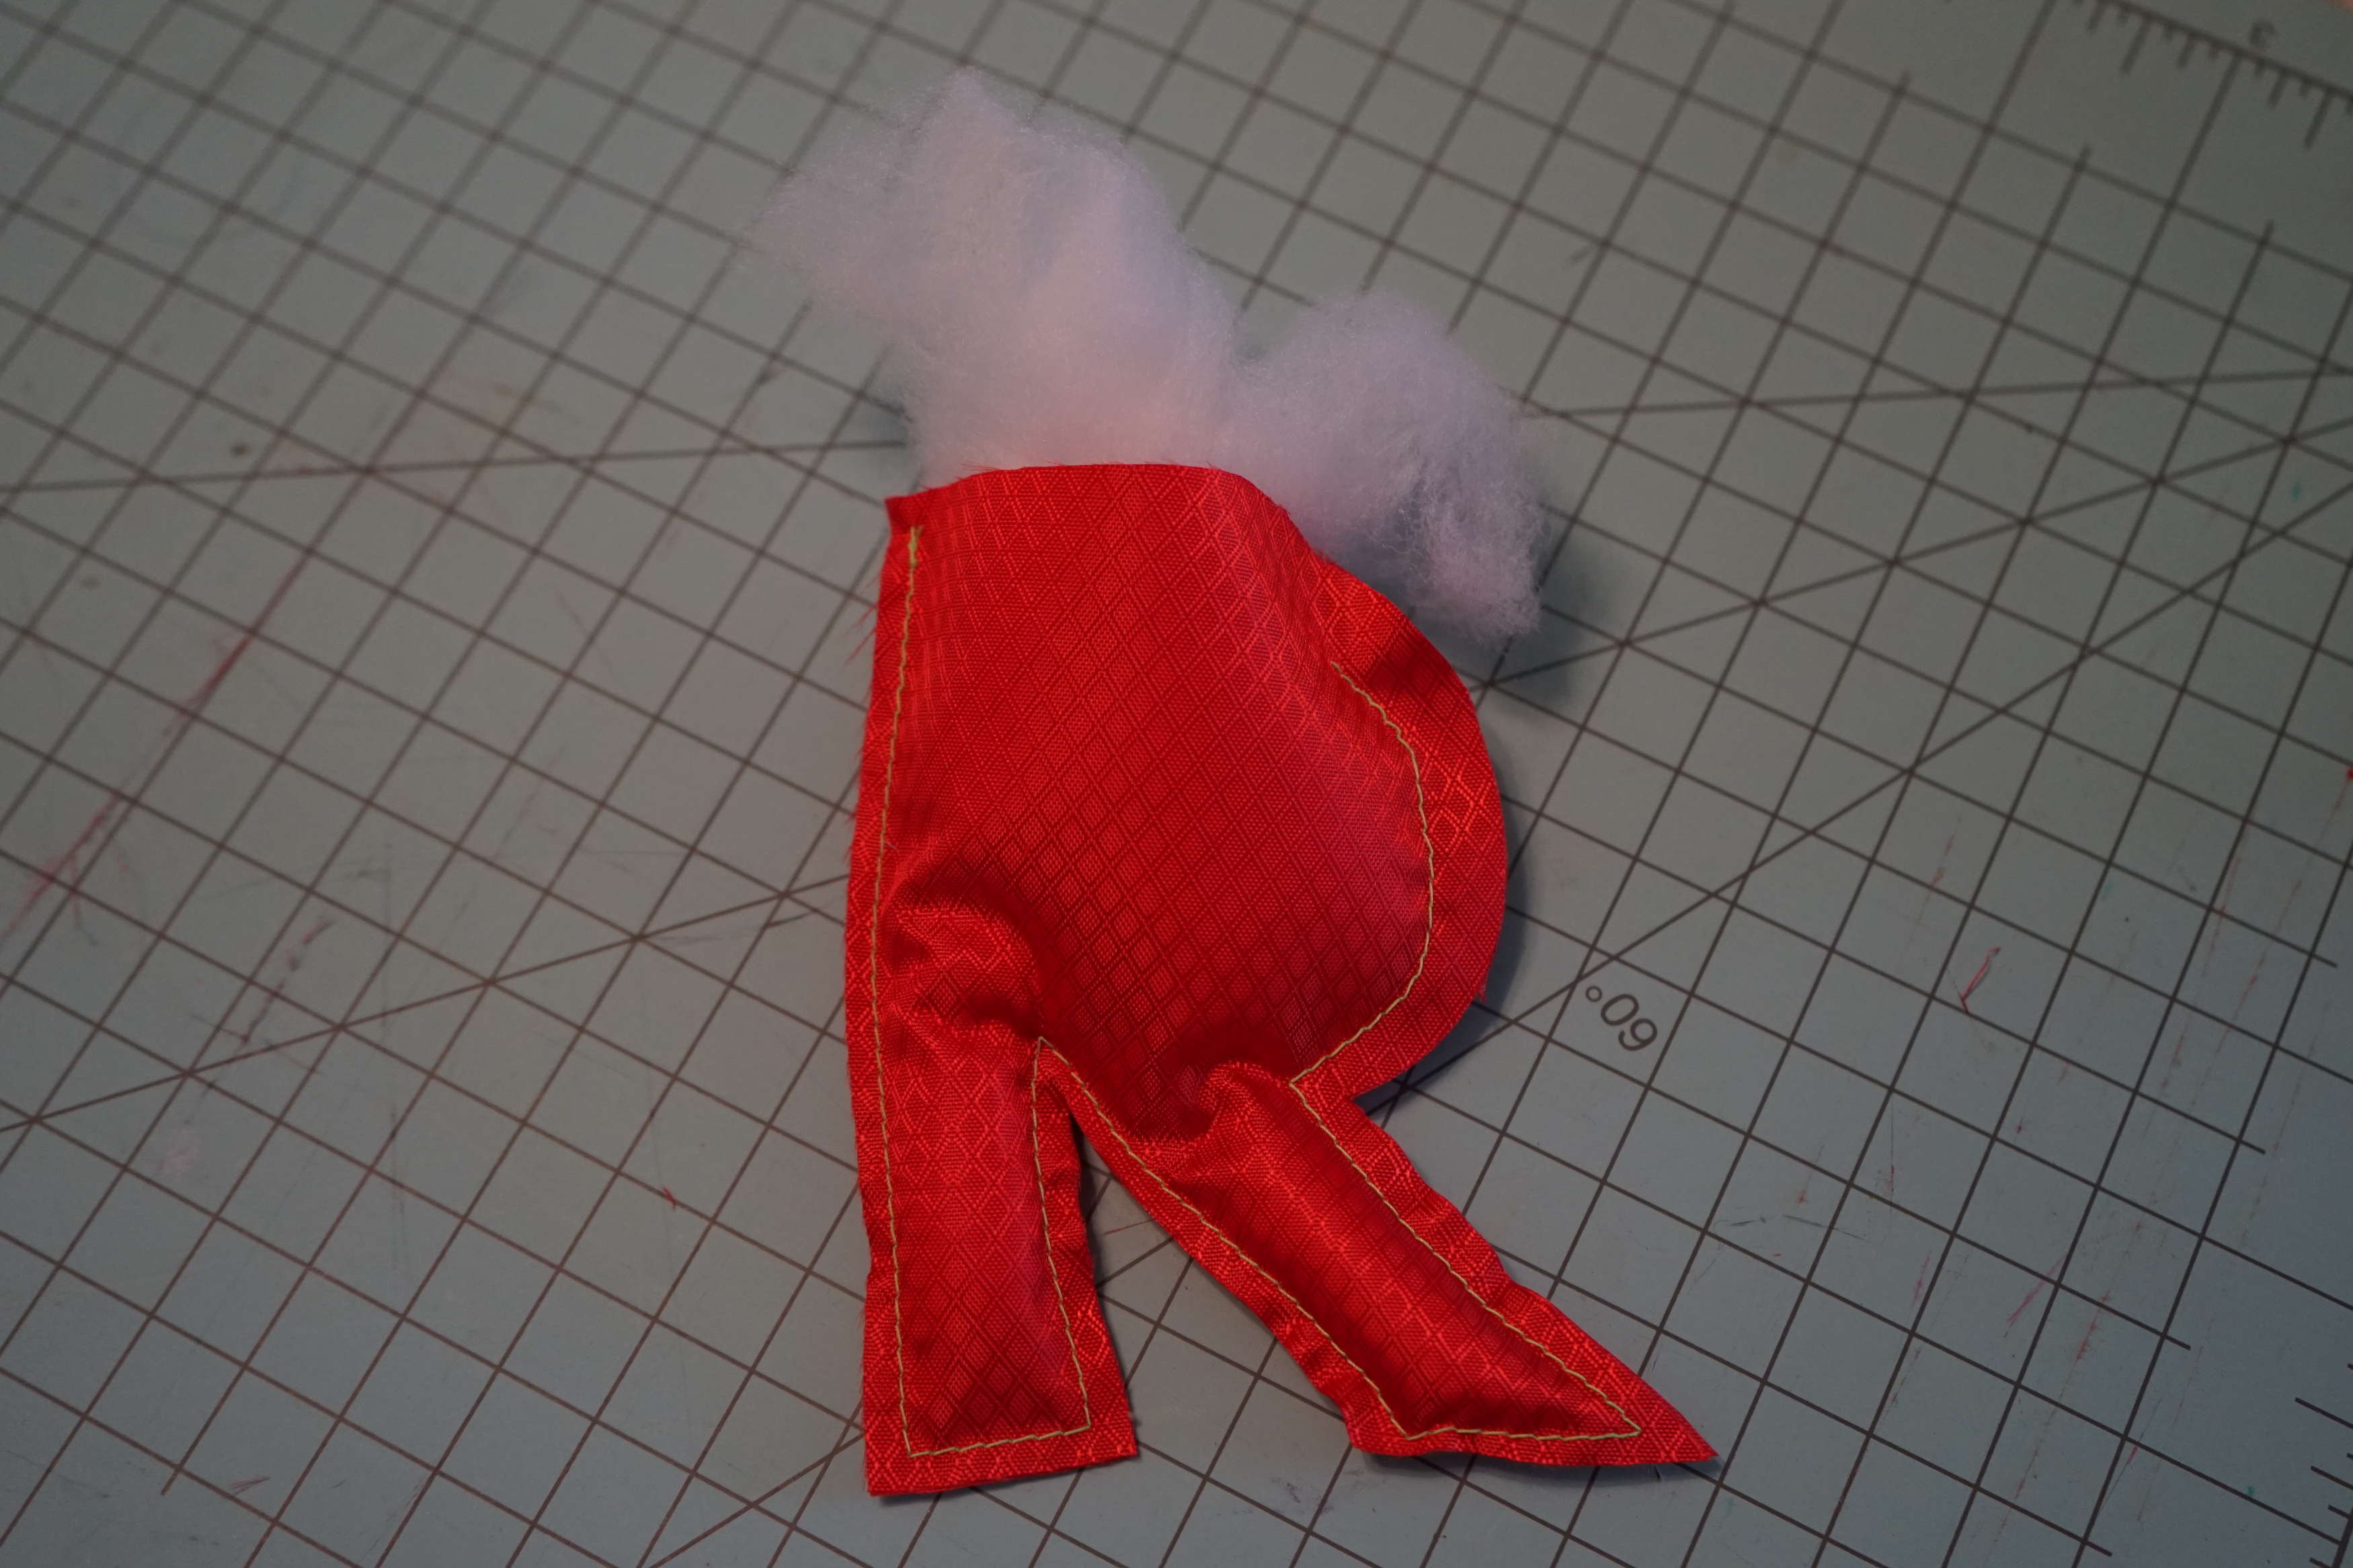
Don't forget to add the loop in the top corner of your letter.
Stuff with insulation (...or don't! Adding a little stuffing just makes them more 3D.)
Stitch the opening closed from where you inserted the insulation.
If your letter has a hole like the letter "B" for instance, you can cut an alternating color and either stitch it on which might be slightly tedious, or use a small piece of double-sided PSA or a dot a fabric glue.
Hang it on the tree!
Let us know what you are making this Holiday season with your ripstop! Tag us in your photos on Instagram or email us photos at social@ripstopbytheroll.com. Happy Holidays y'all!